1.はじめに
今回ご紹介するのは、1枚の写真から3Dモデルを推定するモデルの最新版である、ECONという技術です。
2.ECONとは?
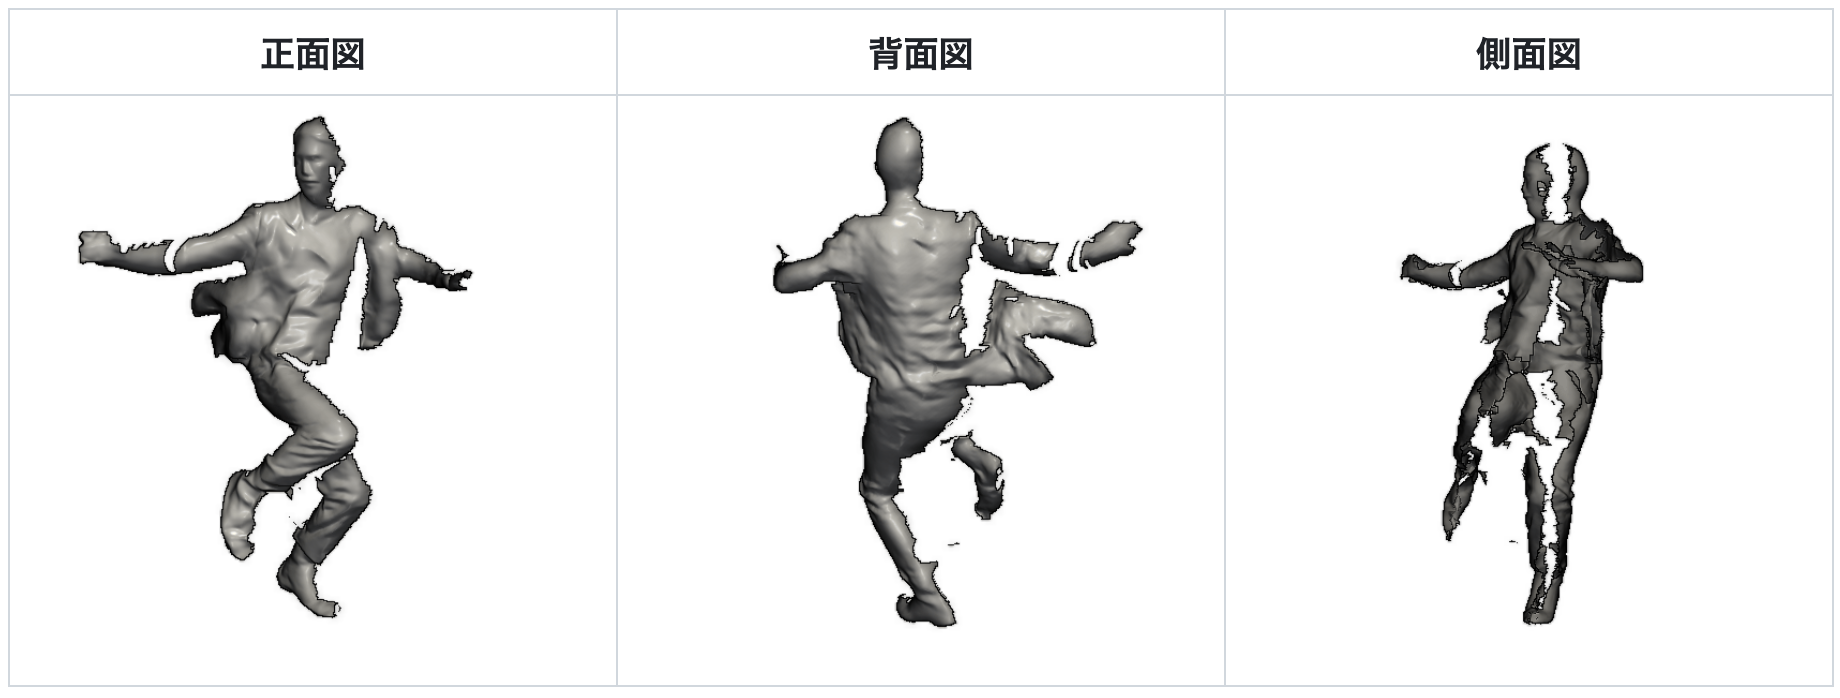
従来のモデル推定は、正面図と背面図を推定したものをそのまま使ってモデル推定していました。ECONでは、この2つを組み合わせて下記の3点を最適化することで完成度を上げています。
- 高周波数のサーフェスの詳細が法線マップと一致する
- 不連続性を含む低周波数のサーフェスのバリエーションが SMPL-X サーフェスと一致する
- 前後の2.5D曲面のシルエットは互いに首尾一貫している。
3.コード
コードはGoogle Colabで動かす形にしてGithubに上げてありますので、それに沿って説明して行きます。自分で動かしてみたい方は、この「リンク」をクリックし表示されたノートブックの先頭にある「Open in Colab」ボタンをクリックすると動かせます。
まず、下記のコードを順次実行し、セットアップを行います。最後のブロック(Downloading required models and extra data)でモデルをダウンロードする前に、colabに記載されているリンクにユーザー登録してユーザーネームとパスワードを取得して下さい。最後のブロックを実行すると、ユーザーネームとパスワードを入力する必要があります。
|
1 2 3 4 5 6 7 8 |
# Installs mamba and updates base %%shell curl -L -O https://github.com/conda-forge/miniforge/releases/latest/download/Mambaforge-Linux-x86_64.sh chmod +x Mambaforge-Linux-x86_64.sh bash Mambaforge-Linux-x86_64.sh -b -f -p /usr/local mamba config --env --set always_yes true rm Mambaforge-Linux-x86_64.sh mamba update -n base -c defaults conda -y |
|
1 2 3 |
# Clones repository !git clone https://github.com/cedro3/ECON.git %cd ECON |
|
1 2 3 4 |
# apt-get for requirements from IPython.display import clear_output !sudo apt-get install libeigen3-dev ffmpeg > /dev/null clear_output() |
|
1 2 3 4 5 6 7 |
# Creates mamba environment and activates it from environment.yaml. Takes ~10 minutes. # Note: it's okay to ignore the "Namespace no_user" error %%shell mamba env create -f environment.yaml > /dev/null mamba init bash source /root/.bashrc source activate econ |
|
1 2 3 4 5 |
# Installs pip installable packages. ~ 3 minutes %%shell source activate econ pip install -r requirements.txt pip install --no-index --no-cache-dir pytorch3d -f https://dl.fbaipublicfiles.com/pytorch3d/packaging/wheels/py38_cu116_pyt1130/download.html |
|
1 2 3 4 5 6 7 |
# Install libmesh & libvoxelize %%shell source activate econ cd lib/common/libmesh python setup.py build_ext --inplace > /dev/null cd ../libvoxelize python setup.py build_ext --inplace > /dev/null |
|
1 2 3 4 5 |
#Downloading required models and extra data. #Provide ICON username and password when prompted below %%shell bash fetch_data.sh |
それでは、写真から3Dモデルを推定してみましょう。まず、examplesに保存されている写真(001.jpg〜038.jpg)の中から、今回使用する写真を指定します。ここでは、file_name = 033.jpg と設定しています。
|
1 2 3 4 5 6 7 8 9 10 11 12 13 14 15 16 |
#@title Set file from IPython.display import Image, display import os import shutil file_name = '033.jpg' #@param {type:"string"} file_path = 'examples/'+file_name filename = os.path.splitext(file_name)[0] if os.path.isdir('input_file'): shutil.rmtree('input_file') os.makedirs('input_file',exist_ok=True) shutil.copy(file_path, 'input_file/'+file_name) display(Image(file_path)) print('filename = ', filename) |

写真の下に表示される filename は後で使うので覚えておいて下さい。
次に、3Dモデル推定を行います。なお、For single -parsonの方をコメントアウトし、For multi-personの方のコメントアウトを外すと、複数人への対応も可能です。
|
1 2 3 4 5 6 7 8 9 10 11 12 |
#@title Infer avator %%shell source activate econ # For single-person image-based reconstruction python -m apps.infer -cfg ./configs/econ.yaml -in_dir ./input_file -out_dir ./results # For multi-person image-based reconstruction (see config/econ.yaml) #python -m apps.infer -cfg ./configs/econ.yaml -in_dir ./input_file -out_dir ./results -multi # To animate the reconstruction with SMPL-X pose parameters #python -m apps.avatarizer -n {file.name} # e.g. 033 to animate the example |
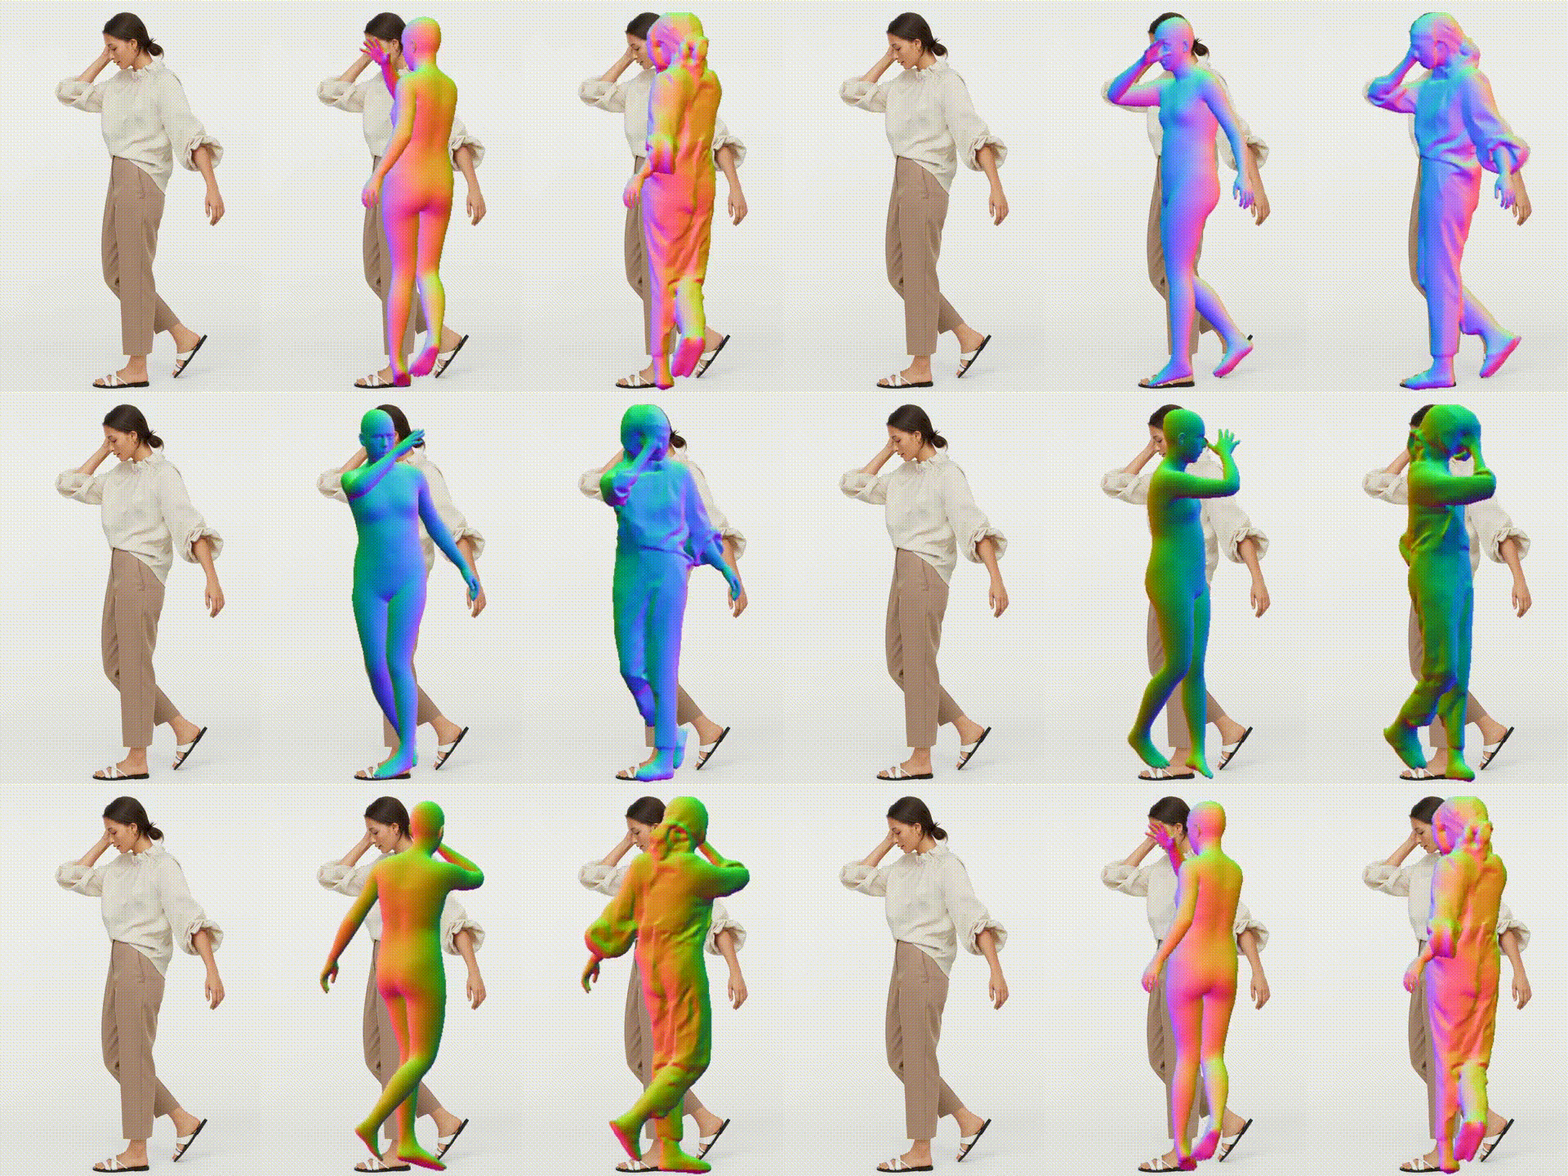
ビデオを作成します。このブロックでは、“python -m apps.multi_render -n”の後を、先程のfilenameで表示された名前に修正して下さい。ここでは、先程 表示された filename = 033 を記載しています。
|
1 2 3 4 5 6 7 8 |
#@title Generate video #After 'python -m apps.multi_render -n' , fill in the filenmae mentioned above %%shell source activate econ # To generate the demo video of reconstruction results python -m apps.multi_render -n 033 # e.g. 021 to generate video (mp4) of the example |
作成したビデオを再生します。
作成したビデオをダウンロードします。
|
1 2 3 |
#@title Download video from google.colab import files files.download(compressed_path) |
以前の技術と比べると精度が着実に上がっていますね。では、また。
(オリジナルgithub)https://github.com/YuliangXiu/ECON







コメントを残す