1.はじめに
2018年に、Everybody Dance Now という、ダンスの達人の動画があれば、普通の人が達人と同じ様に踊る動画を生成できるディープラーニング の技術が提案され、ビックリしたことを覚えています。
それから2年が経ち、技術はもう一段レベルアップしました。当時の出力画像はボケボケでしたが、かなりシャープなものに改善されて来ました。今回は、その技術 Liquid Warping GAN with Attention をご紹介します。
*この論文は、2020.11に提出されました。
2.Liquid Warping GAN with Attention とは?
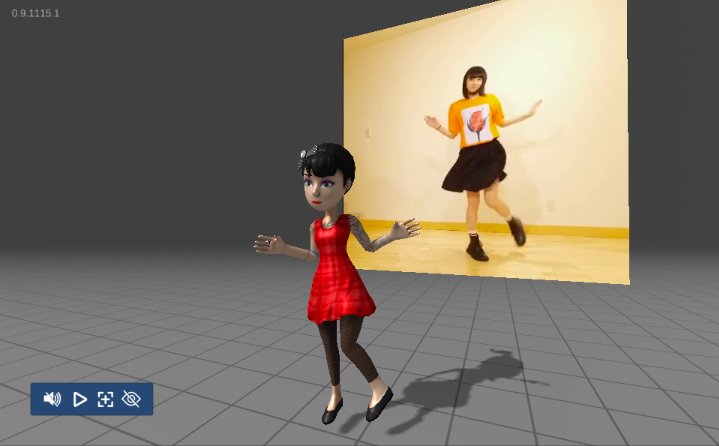
Liquid Warping GAN with Attention とは、リファレンス(動画の人)に合わせて、ソース(静止画の人)の動画を生成するネットワークです。 以下がそのアーキテクチャーです。
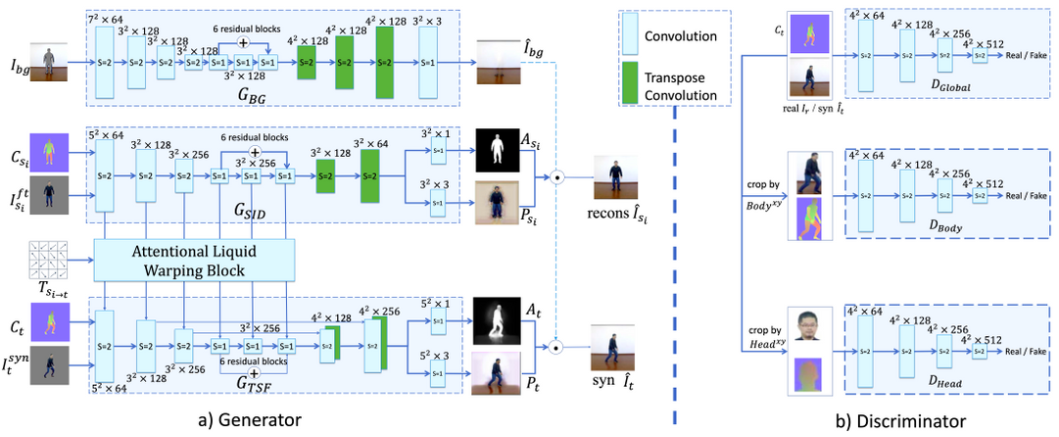
Generatorは、背景を生成するGbg、ソースの特徴量を抽出するGsid、背景情報・ソースの特徴量・リファレンスの3つを合成するGtsf の3つによって構成されています。Attentional Liqiid Warping Block は、ソースの特徴量をリファレンスに反映させる役割を果たします。
Discriminatorは、全体を判定するDglobal、ボディーのみクロップして判定するDbody、頭のみクロップして判定するDheadの3つによって構成されています。
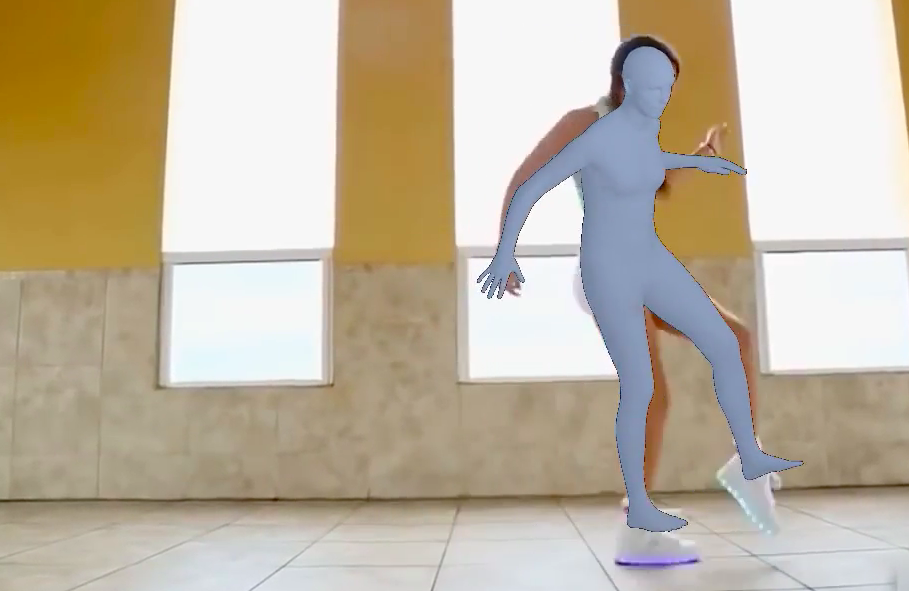
そして、このネットワークでは、骨格データではなく、SMPLと呼ばれる簡易3次元モデルを使っています。
3.コード
コードはGoogle Colabで動かす形にしてGithubに上げてありますので、それに沿って説明して行きます。自分で動かしてみたい方は、この「リンク」をクリックし表示されたノートブックの先頭にある「Colab on Web」ボタンをクリックすると動かせます。
まず、下記のコードを実行し、セットアップを行います。
|
1 2 3 4 5 6 7 8 9 10 11 12 13 14 15 16 17 18 19 20 21 22 23 24 25 26 27 28 29 30 31 32 33 34 35 36 37 38 39 40 41 42 43 44 45 46 |
# ffmpegインストール !apt-get install ffmpeg # CUDAセッティング import os #os.environ["CUDA_HOME"] = "/usr/local/cuda-10.1" os.environ["CUDA_HOME"] = "/usr/local/cuda-11" !echo $CUDA_HOME # githubからコードをコピー !git clone https://github.com/iPERDance/iPERCore.git %cd /content/iPERCore/ # セットアッププログラムの実行 #!python setup.py develop ! pip install torch==1.7.0+cu110 torchvision==0.8.1+cu110 torchaudio==0.7.0 -f https://download.pytorch.org/whl/torch_stable.html ! pip install mmcv-full==1.2.2 -f https://download.openmmlab.com/mmcv/dist/cu110/torch1.7.0/index.html ! pip install git+https://github.com/open-mmlab/mmdetection.git@8179440ec5f75fe95484854af61ce6f6279f3bbc ! pip install git+https://github.com/open-mmlab/mmediting@d4086aaf8a36ae830f1714aad585900d24ad1156 ! pip install git+https://github.com/iPERDance/neural_renderer.git@e5f54f71a8941acf372514eb92e289872f272653 ! pip install tensorboardX>=2.1 # 重みのダウンロード import gdown gdown.download('https://drive.google.com/uc?id=1jpp_KytMplNNFA_IJSzzSWhvyqIdmnJv', 'assets/checkpoints.zip', quiet=False) !unzip -o assets/checkpoints.zip -d assets/ !rm assets/checkpoints.zip # サンプルのダウンロード !wget -O assets/samples.zip "https://download.impersonator.org/iper_plus_plus_latest_samples.zip" !unzip -o assets/samples.zip -d assets !rm assets/samples.zip # ディレクトリ移動 %cd /content/iPERCore/ # ライブラリーのインポート import os import os.path as osp import platform import argparse import time import sys import subprocess from IPython.display import HTML from base64 import b64encode |
続いて、下記のコードを実行し、初期設定を行います。
|
1 2 3 4 5 6 7 8 9 10 11 12 13 14 15 16 17 18 19 20 21 22 23 24 25 26 27 28 29 |
# the gpu ids gpu_ids = "0" # the image size image_size = 512 # the default number of source images, it will be updated if the actual number of sources <= num_source num_source = 2 # the assets directory. This is very important, please download it from `one_drive_url` firstly. assets_dir = "/content/iPERCore/assets" # the output directory. output_dir = "./results" # the model id of this case. This is a random model name. # model_id = "model_" + str(time.time()) # # This is a specific model name, and it will be used if you do not change it. # model_id = "axing_1" # symlink from the actual assets directory to this current directory work_asserts_dir = os.path.join("./assets") if not os.path.exists(work_asserts_dir): os.symlink(osp.abspath(assets_dir), osp.abspath(work_asserts_dir), target_is_directory=(platform.system() == "Windows")) cfg_path = osp.join(work_asserts_dir, "configs", "deploy.toml") |
変換時のソース(静止画の人)の与え方には3種類あり、①ソースが正面のみ、②ソースが正面+背面、③ソースが正面+背面+背景、があります。
まず、①ソースが正面のみの場合です。src_path でソース(静止画)を指定し、この時の name? が出力フォルダー名です。ref_path でリファレンス(動画)を指定し、この時の name? がリファレンスの処理フォルダー名です。
※このシステムでは、一度実行完了した出力フォルダー・リファレンスの処理フォルダーには上書きしないことに注意して下さい。
|
1 2 3 4 5 6 7 8 9 10 11 12 13 14 15 16 17 18 19 20 21 |
# This is a specific model name, and it will be used if you do not change it. This is the case of `trump` model_id = "donald_trump_2" # the source input information, here \" is escape character of double duote " src_path = "\"path?=/content/iPERCore/assets/samples/sources/donald_trump_2/00000.PNG,name?=donald_trump_2\"" ref_path = "\"path?=/content/iPERCore/assets/samples/references/akun_1.mp4," \ "name?=akun_1," \ "pose_fc?=300\"" print(ref_path) !python -m iPERCore.services.run_imitator \ --gpu_ids $gpu_ids \ --num_source $num_source \ --image_size $image_size \ --output_dir $output_dir \ --model_id $model_id \ --cfg_path $cfg_path \ --src_path $src_path \ --ref_path $ref_path |
|
1 2 3 4 5 6 |
mp4 = open("./results/primitives/donald_trump_2/synthesis/imitations/donald_trump_2-akun_1.mp4", "rb").read() data_url = "data:video/mp4;base64," + b64encode(mp4).decode() HTML(f""" <video width="100%" height="100%" controls> <source src="{data_url}" type="video/mp4"> </video>""") |

ソースとなる画像は、全身が写っていて両手が体と少し離れていると綺麗に変換が出来ます。リファレンスが前しか向かない場合はこれでOKですが、後ろを向く場合は次の方法をとる必要があります。でないと、リファレンスが後ろを向くとソースは後ろを向きますが、後ろの画像も前を使うので怖い感じになります(笑)。
次に、②ソースが正面+背面の場合です。コード上は先程とほぼ同じですが、今度はソースのフォルダーを指定し、その中に正面と背面の2つの画像を入れます。
|
1 2 3 4 5 6 7 8 9 10 11 12 13 14 15 16 17 18 19 20 21 22 23 24 |
# This is a specific model name, and it will be used if you do not change it. This is the case of `trump` model_id = "axing_1" # the source input information, here \" is escape character of double duote " src_path = "\"path?=/content/iPERCore/assets/samples/sources/axing_1,name?=axing_1\"" ## the reference input information. There are three reference videos in this case. # here \" is escape character of double duote " ref_path = "\"path?=/content/iPERCore/assets/samples/references/dance01.mp4," \ "name?=dance01," \ "pose_fc?=300\"" print(ref_path) !python -m iPERCore.services.run_imitator \ --gpu_ids $gpu_ids \ --num_source $num_source \ --image_size $image_size \ --output_dir $output_dir \ --model_id $model_id \ --cfg_path $cfg_path \ --src_path $src_path \ --ref_path $ref_path |
|
1 2 3 4 5 6 |
mp4 = open("./results/primitives/axing_1/synthesis/imitations/axing_1-dance01.mp4", "rb").read() data_url = "data:video/mp4;base64," + b64encode(mp4).decode() HTML(f""" <video width="100%" height="100%" controls> <source src="{data_url}" type="video/mp4"> </video>""") |
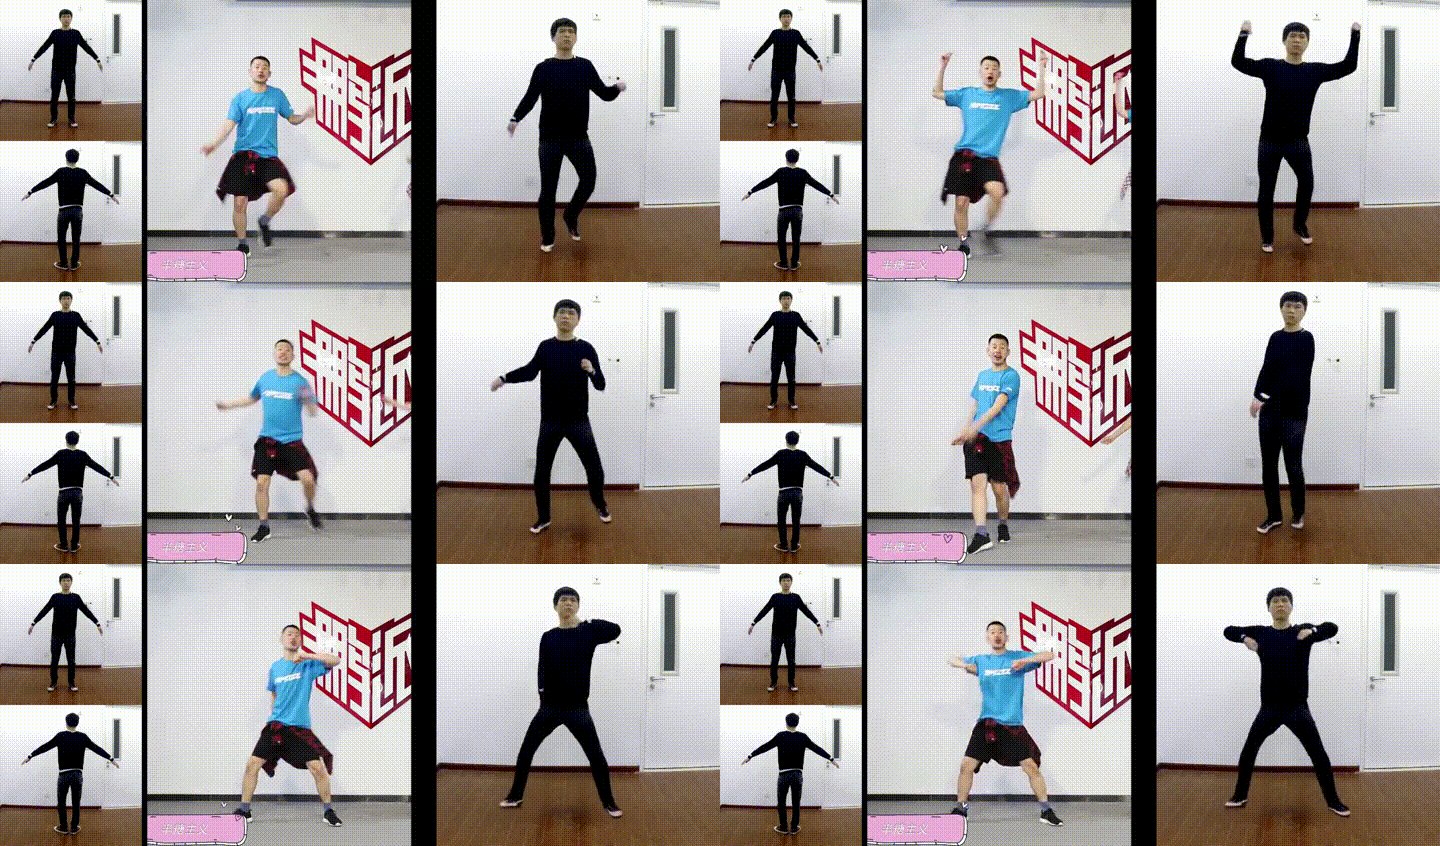
この動画の中ではリファレンスは後ろを向いていませんが、これでリファレンスが後ろを向いても大丈夫になりました。
そして、③ソースが正面+背面+背景の場合です。厳密に言うと、ソースの人物に隠された背景は、どうなっているか分かりません。なので、背景の画像を加えるとさらに仕上がりが良くなります。その場合は、7行目の bg_path で背景の画像ファイルを指定します。
|
1 2 3 4 5 6 7 8 9 10 11 12 13 14 15 16 17 18 19 20 21 22 23 24 25 |
# This is a specific model name, and it will be used if you do not change it. This is the case of `trump` model_id = "afan_6=ns=2" # the source input information, here \" is escape character of double duote " src_path = "\"path?=/content/iPERCore/assets/samples/sources/afan_6/afan_6=ns=2," \ "name?=afan_6=ns=2," \ "bg_path?=/content/iPERCore/assets/samples/sources/afan_6/IMG_7217.JPG\"" ## the reference input information. There are three reference videos in this case. # here \" is escape character of double duote " ref_path = "\"path?=/content/iPERCore/assets/samples/references/dance02.mp4," \ "name?=dance02," \ "pose_fc?=300\"" print(ref_path) !python -m iPERCore.services.run_imitator \ --gpu_ids $gpu_ids \ --num_source $num_source \ --image_size $image_size \ --output_dir $output_dir \ --model_id $model_id \ --cfg_path $cfg_path \ --src_path $src_path \ --ref_path $ref_path |
|
1 2 3 4 5 6 |
mp4 = open("./results/primitives/afan_6=ns=2/synthesis/imitations/afan_6=ns=2-dance02.mp4", "rb").read() data_url = "data:video/mp4;base64," + b64encode(mp4).decode() HTML(f""" <video width="100%" height="100%" controls> <source src="{data_url}" type="video/mp4"> </video>""") |
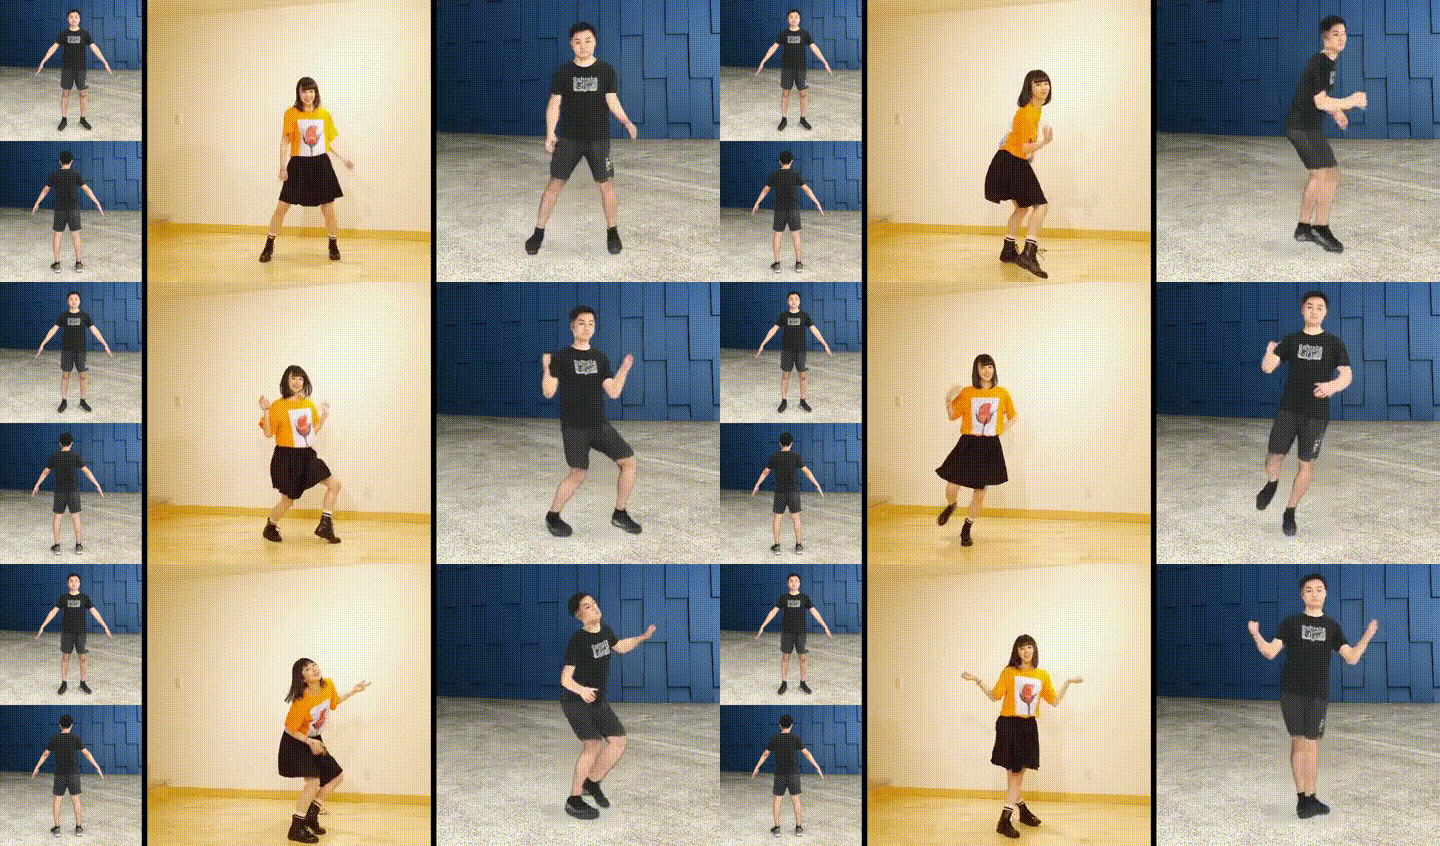
Githubのコードには、沢山のリファレンス(動画)とソース(静止画)が保存されていますので、自分の写真も含めて、色々組み合わせて楽しんでみて下さい。
この Attention Liquid Warping GAN は、上海科技大学を中心としたメンバーで開発されていて、最先端のAI開発における中国の存在の大きさを感じます。今回、公開されたコードは、近日中にGUIで動かすアプリケーションとしても公開されるということで、こちらも楽しみにしたいと思います。
最後に、私が作ったオリジナルをご紹介します。
ソースを私の写真、リファレンスをシャッフルダンスのビデオにすると、私はシャッフルダンスの達人になれます。
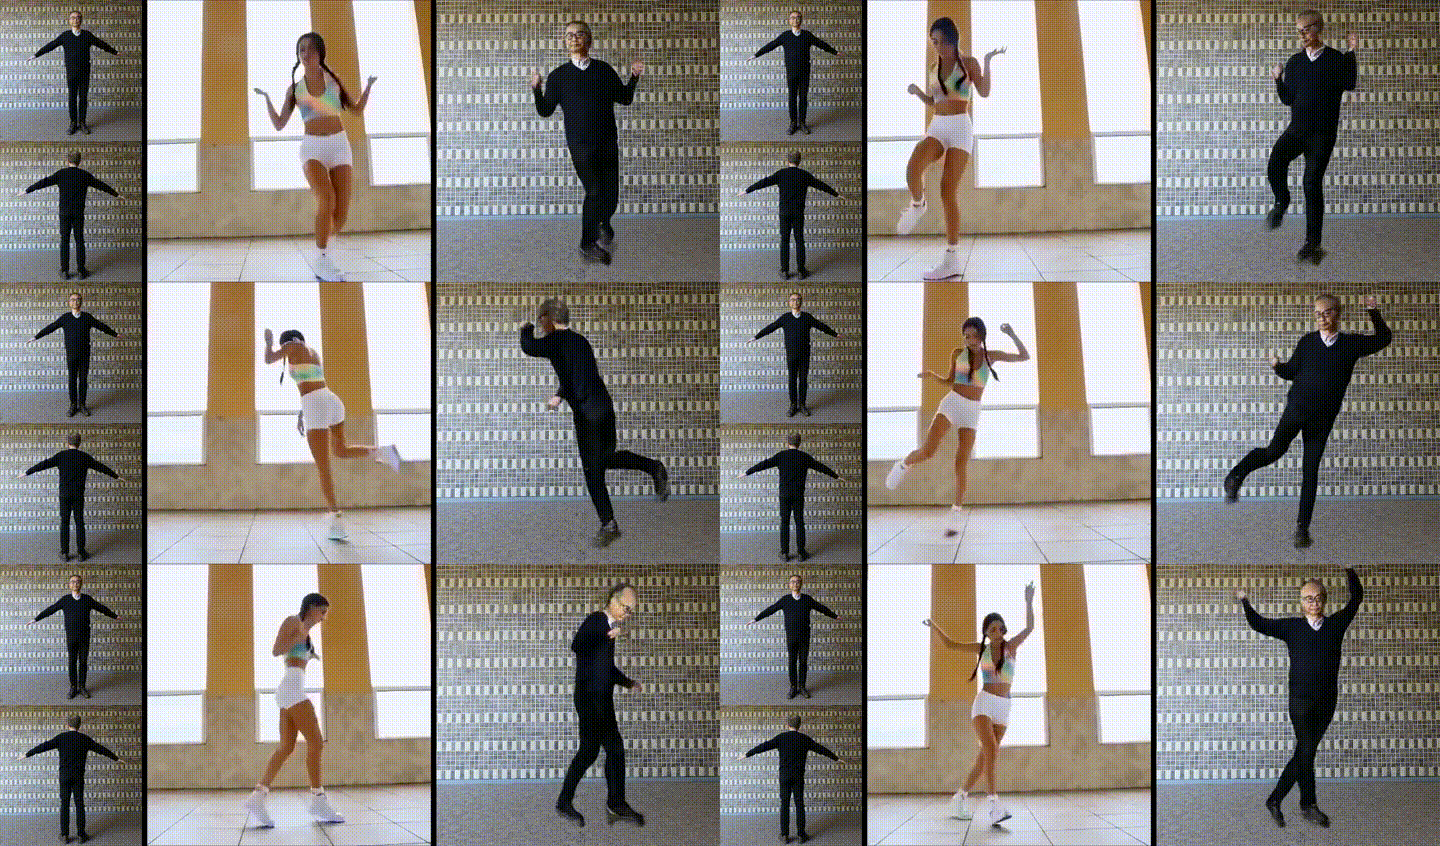
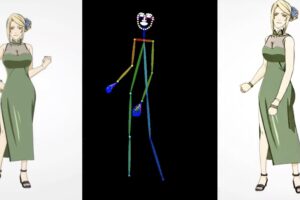
ソースを女性の写真、リファレンスを中国拳法のビデオにすると、彼女は中国拳法の達人になれます。

ソースを西郷さんの写真、リファレンスをダンスビデオにすると、西郷さんがダンスをしてくれます。

では、また。
(オリジナル)https://github.com/iPERDance/iPERCore
(Youtubeへの投稿)
さらに分かりやすい解説+操作方法+コードリンクをYoutubeにアップしました。
(Twitterへの投稿)
①ソースが正面のみで7名分を変換し、編集したものをTwitterに投稿しました。







正面画像1枚だけならエラーもなく動画を生成することができたのですが
表裏の画像を使って生成するのから、フォルダの指定が間違っているのかfailedエラーが発生してしまいます
申し訳ないですが、詳しいHowtoを記事にしてくださると助かります。
さすらいさん
分かりやすい解説動画+コードリンクをyoutube動画でアップロードしました。下記リンクをご覧ください。
https://www.youtube.com/watch?v=c7pMr6MvHwY&t=6s
hello
I faced a problem with ‘neural_renderer’ (No module named ‘neural_renderer’) when I run the cell No.3 (3.動画の生成(5〜10分かかります)
can you help me please
Hi, raghad
The code has been fixed. Please try again from the blog link.
ご助力ありがとうございます
しかし、私はまだ同じエラーが発生しました
File”/content/iPERCore/iPERCore/tools/human_digitalizer/renders/nmr.py”、6行目、
nrとしてneural_rendererをインポート
ModuleNotFoundError:「neural_renderer」という名前のモジュールがありません
ありがとう、コードは機能しました。GPU を使用する必要がありました