1.はじめに
昨年発表された StyleGAN3は、生成画像の時間的一貫性が改善され、さらに生成画像の平行移動や回転が可能になりました。今回ご紹介するのは、このStyleGAN3を用いた画像とビデオの編集技術です。
*この論文は、2022.1に提出されました。
2.StyleGAN3とは?
StyleGAN2は、ビデオ処理をする場合に重要な時間的一貫性に問題がありました。この問題は、テクスチャ付着現象と呼ばれ、例えば潜在空間を補間する場合、通常、髪の毛と顔は一斉に動かないのです。
StyleGAN3は、こういった時間的な一貫性が改善され、さらに生成画像の平行移動や回転を可能にしたアーキテクチャになっています。
今回は、このStyleGAN3と今まで提案された手法を組み合わせた「画像とビデオの編集」について見て行きます。
3.コード
コードはGoogle Colabで動かす形にしてGithubに上げてありますので、それに沿って説明して行きます。自分で動かしてみたい方は、この「リンク」をクリックし表示されたノートブックの先頭にある「Colab on Web」ボタンをクリックすると動かせます。
まず、セットアップを行います。
|
1 2 3 4 5 6 7 8 9 10 11 12 13 14 15 16 17 18 19 20 21 22 23 24 25 26 27 28 29 30 31 32 33 34 35 36 37 38 39 40 41 42 43 44 45 46 47 48 49 50 51 52 |
#@title セットアップ import os from pathlib import Path os.chdir('/content') CODE_DIR = 'stylegan3-editing' # githubからコード取得 !git clone https://github.com/cedro3/stylegan3-editing.git $CODE_DIR # ninjaインストール !wget https://github.com/ninja-build/ninja/releases/download/v1.8.2/ninja-linux.zip !sudo unzip ninja-linux.zip -d /usr/local/bin/ !sudo update-alternatives --install /usr/bin/ninja ninja /usr/local/bin/ninja 1 --force # pyrallis & CLIPインストール !pip install pyrallis !pip install git+https://github.com/openai/CLIP.git os.chdir(f'./{CODE_DIR}') # ライブラリー・インポート import time import sys import pprint import numpy as np from PIL import Image import dataclasses import torch import torchvision.transforms as transforms sys.path.append(".") sys.path.append("..") from editing.interfacegan.face_editor import FaceEditor from editing.styleclip_global_directions import edit as styleclip_edit from models.stylegan3.model import GeneratorType from notebooks.notebook_utils import Downloader, ENCODER_PATHS, INTERFACEGAN_PATHS, STYLECLIP_PATHS from notebooks.notebook_utils import run_alignment, crop_image, compute_transforms from utils.common import tensor2im from utils.inference_utils import run_on_batch, load_encoder, get_average_image from function import * %load_ext autoreload %autoreload 2 # 学習済みパラメータのダウンロード downloader = Downloader(code_dir=CODE_DIR, use_pydrive=False, subdir="pretrained_models") |
次に、画像から潜在変数を求めるエンコーダ(e4e、pSpから選択可能)と画像編集用のパラメータをダウンロードします。ここでは、pSpを選択しています。
|
1 2 3 4 5 6 7 8 9 10 11 12 13 14 15 16 17 18 19 20 21 22 23 24 25 26 27 28 29 30 31 32 33 34 35 36 37 38 39 40 41 42 43 44 45 46 47 48 49 50 51 52 53 54 55 56 57 58 59 60 61 62 63 |
#@title 初期設定 # エンコーダタイプ選択 experiment_type = 'restyle_pSp_ffhq' #@param ['restyle_e4e_ffhq', 'restyle_pSp_ffhq'] EXPERIMENT_DATA_ARGS = { "restyle_pSp_ffhq": { "model_path": "./pretrained_models/restyle_pSp_ffhq.pt", "image_path": "./notebooks/images/face_image.jpg", "transform": transforms.Compose([ transforms.Resize((256, 256)), transforms.ToTensor(), transforms.Normalize([0.5, 0.5, 0.5], [0.5, 0.5, 0.5])]) }, "restyle_e4e_ffhq": { "model_path": "./pretrained_models/restyle_e4e_ffhq.pt", "image_path": "./notebooks/images/face_image.jpg", "transform": transforms.Compose([ transforms.Resize((256, 256)), transforms.ToTensor(), transforms.Normalize([0.5, 0.5, 0.5], [0.5, 0.5, 0.5])]) } } EXPERIMENT_ARGS = EXPERIMENT_DATA_ARGS[experiment_type] # エンコーダ・ダウンロード if not os.path.exists(EXPERIMENT_ARGS['model_path']) or os.path.getsize(EXPERIMENT_ARGS['model_path']) < 1000000: print(f'Downloading ReStyle encoder model: {experiment_type}...') try: downloader.download_file(file_id=ENCODER_PATHS[experiment_type]['id'], file_name=ENCODER_PATHS[experiment_type]['name']) except Exception as e: raise ValueError(f"Unable to download model correctly! {e}") # if google drive receives too many requests, we'll reach the quota limit and be unable to download the model if os.path.getsize(EXPERIMENT_ARGS['model_path']) < 1000000: raise ValueError("Pretrained model was unable to be downloaded correctly!") else: print('Done.') else: print(f'Model for {experiment_type} already exists!') # エンコーダ・ロード model_path = EXPERIMENT_ARGS['model_path'] net, opts = load_encoder(checkpoint_path=model_path) avg_image = get_average_image(net) # --- 編集パラメータのダウンロード --- download_with_pydrive = False # download files for interfacegan downloader = Downloader(code_dir=CODE_DIR, use_pydrive=download_with_pydrive, subdir="editing/interfacegan/boundaries/ffhq") print("Downloading InterFaceGAN boundaries...") for editing_file, params in INTERFACEGAN_PATHS.items(): print(f"Downloading {editing_file} boundary...") downloader.download_file(file_id=params['id'], file_name=params['name']) |
edit/picフォルダにあるサンプル画像5枚をalign処理(顔固定)及び、crop処理(背景固定)します。
|
1 2 3 4 5 6 7 8 9 10 11 12 13 14 15 16 17 18 19 20 21 22 23 |
#@title align & crop の作成 import os import glob from tqdm import tqdm reset_folder('edit/align') reset_folder('edit/crop') files = sorted(os.listdir('edit/pic')) for i, file in enumerate(tqdm(files)): input_image = run_alignment('edit/pic/'+file) cropped_image =crop_image('edit/pic/'+file) name = os.path.splitext(file)[0] input_image.save('edit/align/'+name+'.jpg') cropped_image.save('edit/crop/'+name+'.jpg') print('=== pic ===') display_pic('edit/pic') print('=== align ===') display_pic('edit/align') print('=== crop ===') display_pic('edit/crop') |


1列目がサンプル画像で、2列目がalign処理(顔固定)、3列目がcrop処理(背景固定)したものです。
今までの手法は、顔固定の画像から潜在変数を求め、潜在変数を編集して、顔固定の画像を生成するというものでした。しかし、この手法だとビデオで顔が動いたときに、顔は動かず背景だけが動いてしまいます。顔が動いた時は、顔が動いて背景は動かないようにしたいわけです。つまり、背景固定の画像を生成したいわけです。これをどう実現するか。
潜在変数から画像を生成するときに、顔固定と背景固定の顔の位置の差を計算し、生成画像を適切に平行移動・回転させれば、背景固定の画像が生成できます!
最初に、顔固定の画像から潜在変数を求め、潜在変数は無編集で、背景固定の画像を生成してみましょう。
|
1 2 3 4 5 6 7 8 9 10 11 12 13 14 15 16 17 18 19 20 21 22 23 24 25 26 27 28 29 30 31 32 33 34 35 36 37 38 39 40 41 42 |
#@title invert の作成 from tqdm import tqdm reset_folder('edit/invert') reset_folder('edit/latents') files = sorted(os.listdir('edit/align')) for file in tqdm(files): input_image = Image.open('edit/align/'+file) aligned_path = 'edit/align/'+file cropped_path = 'edit/crop/'+file landmarks_transform = compute_transforms(aligned_path=aligned_path, cropped_path=cropped_path) opts.n_iters_per_batch = 3 opts.resize_outputs = False # generate outputs at full resolution img_transforms = EXPERIMENT_ARGS['transform'] transformed_image = img_transforms(input_image) with torch.no_grad(): tic = time.time() result_batch, result_latents = run_on_batch(inputs=transformed_image.unsqueeze(0).cuda().float(), net=net, opts=opts, avg_image=avg_image, landmarks_transform=torch.from_numpy(landmarks_transform).cuda().float()) toc = time.time() #print('Inference took {:.4f} seconds.'.format(toc - tic)) result_tensors = result_batch[0] final_rec = tensor2im(result_tensors[-1])#.resize(resize_amount) final_rec.save('edit/invert/'+file) name = os.path.splitext(file)[0] np.save('edit/latents/'+name, result_latents[0][-1]) print('=== crop ===') display_pic('edit/crop') print('=== invert ===') display_pic('edit/invert') |


1列目が実写から切り抜いた背景固定の画像、2列目が潜在変数から生成した背景固定の画像です。全く同一と言うわけには行きませんが、かなりの再現性ではないでしょうか。
さて、InterFaceGANを使って潜在変数を編集してみましょう。invertに指定画像を記入し、編集用パラメタは4種類(age, smile, pose, male)の中から選び、適用係数(min_value, max_value)を設定して実行します。
ここでは、invert = 004.jpg、edit_direction = age、min_value = -5、max_value = 5 で実行します。
|
1 2 3 4 5 6 7 8 9 10 11 12 13 14 15 16 17 18 19 20 21 22 23 24 25 26 27 28 29 30 31 32 33 34 35 36 37 38 39 |
#@title InterFaceGANによる編集 invert = '004.jpg'#@param {type:"string"} name = os.path.splitext(invert)[0]+'.npy' result_latents_ = np.load('edit/latents/'+name) aligned_path = 'edit/align/'+invert cropped_path = 'edit/crop/'+invert landmarks_transform = compute_transforms(aligned_path=aligned_path, cropped_path=cropped_path) edit_direction = 'age' #@param ['age', 'smile', 'pose', 'Male'] min_value = -5 #@param {type:"slider", min:-10, max:10, step:1} max_value = 5 #@param {type:"slider", min:-10, max:10, step:1} #@title Perform Edit! { display-mode: "form" } print(f"Performing edit for {edit_direction}...") #input_latent = torch.from_numpy(result_latents[0][-1]).unsqueeze(0).cuda() input_latent = torch.from_numpy(result_latents_).unsqueeze(0).cuda() edit_images, edit_latents = editor.edit(latents=input_latent, direction=edit_direction, factor_range=(min_value, max_value), user_transforms=landmarks_transform, apply_user_transformations=True) print("Done!") #@title Show Result { display-mode: "form" } def prepare_edited_result(edit_images): if type(edit_images[0]) == list: edit_images = [image[0] for image in edit_images] res = np.array(edit_images[0].resize((512, 512))) for image in edit_images[1:]: res = np.concatenate([res, image.resize((512, 512))], axis=1) res = Image.fromarray(res).convert("RGB") return res res = prepare_edited_result(edit_images) res |

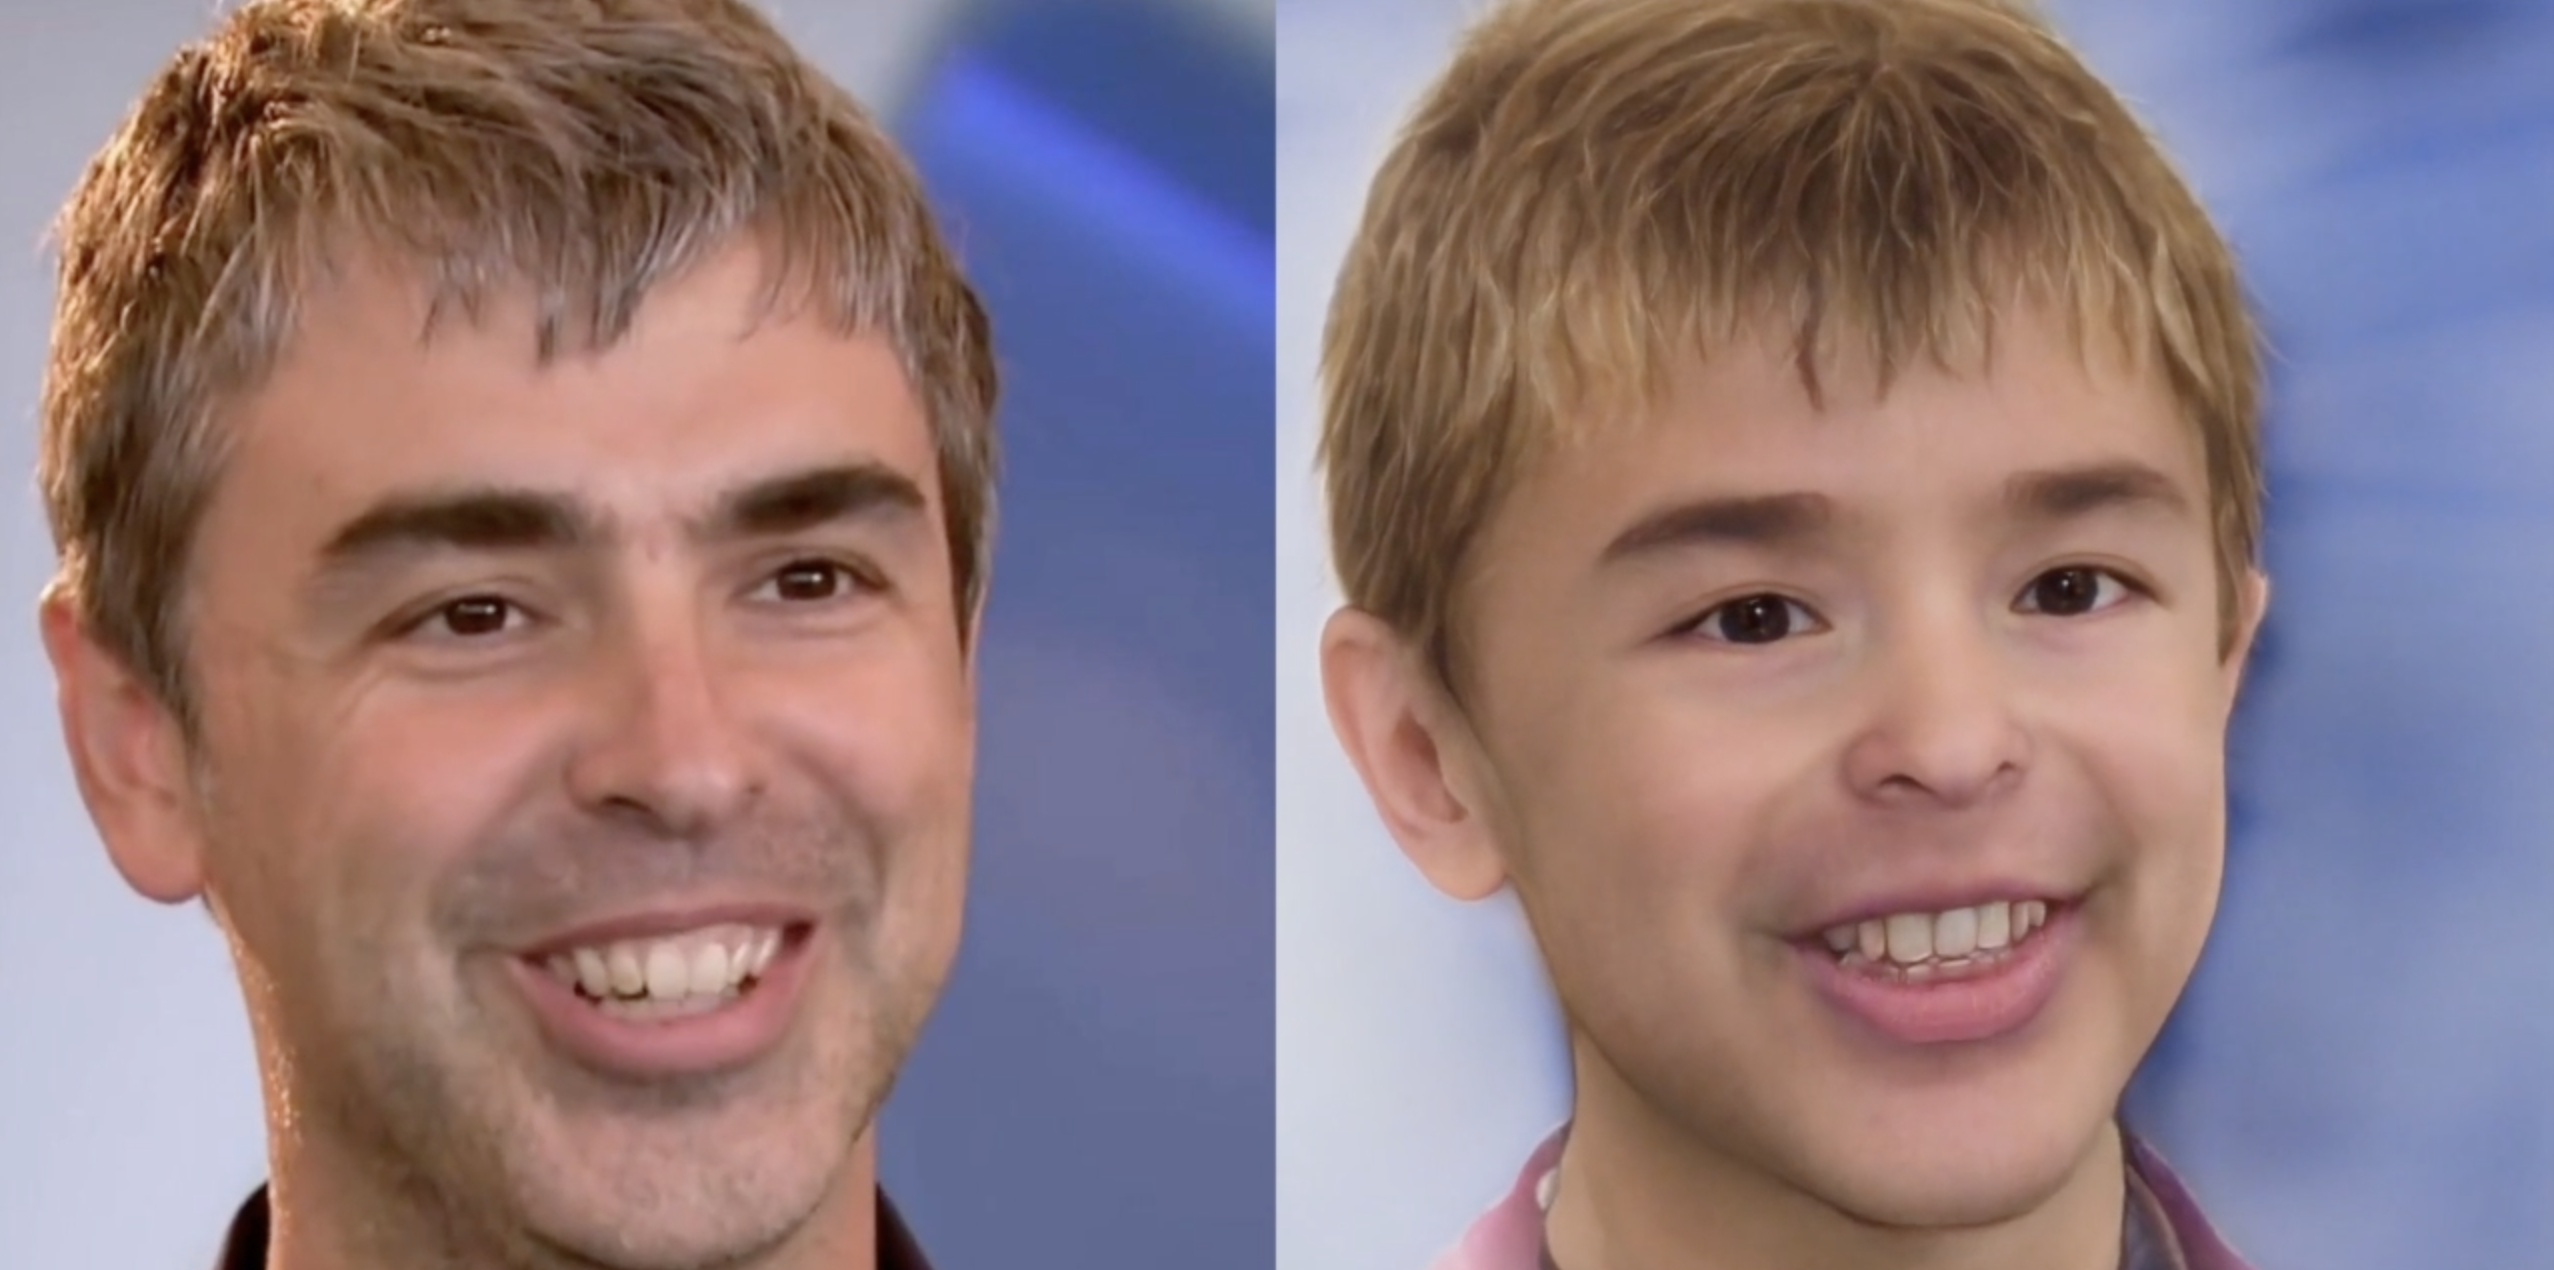
はい、背景固定の画像で年齢シミュレーションができました。
今度は、StyleCLIPを使って潜在変数を編集してみましょう。neutral_test と target_text に、編集内容を英文テキストで指示し、alpha と beta で効かせ方を指定します。
ここでは、neutral_text = a face、target_text = a smiling face、alpha = 4、beta =0.13 で実行します。
|
1 2 3 4 5 6 7 8 9 10 11 12 13 14 15 16 17 18 19 20 21 22 23 24 25 26 27 28 29 30 31 32 33 34 35 36 37 38 39 40 41 42 43 44 45 |
#@title StyleCLIPによる編集 styleclip_args = styleclip_edit.EditConfig() global_direction_calculator = styleclip_edit.load_direction_calculator(stylegan_model=net.decoder, opts=styleclip_args) neutral_text = "a face" #@param {type:"raw"} target_text = "a smiling face" #@param {type:"raw"} alpha = 4 #@param {type:"slider", min:-5, max:5, step:0.5} beta = 0.13 #@param {type:"slider", min:-1, max:1, step:0.1} # 設定 opts = styleclip_edit.EditConfig() opts.alpha_min = alpha opts.alpha_max = alpha opts.num_alphas = 1 opts.beta_min = beta opts.beta_max = beta opts.num_betas = 1 opts.neutral_text = neutral_text opts.target_text = target_text # 推論 input_latent = result_latents_ input_transforms = torch.from_numpy(landmarks_transform).cpu().numpy() print(f'Performing edit for: "{opts.target_text}"...') edit_res, edit_latent = styleclip_edit.edit_image(latent=input_latent, landmarks_transform=input_transforms, stylegan_model=net.decoder, global_direction_calculator=global_direction_calculator, opts=opts, image_name=None, save=False) print("Done!") input_image = Image.open('edit/invert/'+invert) ### transformed_image = img_transforms(input_image) ### # 表示 input_im = tensor2im(transformed_image).resize((512, 512)) edited_im = tensor2im(edit_res[0]).resize((512, 512)) edit_coupled = np.concatenate([np.array(input_im), np.array(edited_im)], axis=1) edit_coupled = Image.fromarray(edit_coupled) edit_coupled.resize((1024, 512)) |

はい、背景固定の画像で表情シミュレーションができました。
さて、今度は inversion/video/inference_on_video.py を使ってビデオでやってみましょう。但し、無料バージョンのgoogle colab だと動作の途中でメモリ不足でクラッシュしてしまいますので、有料のPROバージョンでハイメモリ設定をしておく必要があります。
引数は、–video_path でビデオの指定、–checkpoint_path でエンコーダのパラメータの指定、–output_path で出力フォルダの指定をし、実行します。
編集内容は、inversion/video/video_config.py で複数の設定が一括してできます。
|
1 2 3 4 5 6 7 8 9 10 |
# ビデオ編集(要PROハイメモリ) # shape_predictor copy import shutil shutil.copy('shape_predictor_68_face_landmarks.dat', 'pretrained_models/shape_predictor_68_face_landmarks.dat') ! python inversion/video/inference_on_video.py \ --video_path edit/video/02.mp4 \ --checkpoint_path pretrained_models/restyle_pSp_ffhq.pt \ --output_path out_02 |
|
1 2 3 |
# ビデオ再生 video_path = 'out_02/edited_video_age_start_coupled.mp4' display_mp4(video_path) |

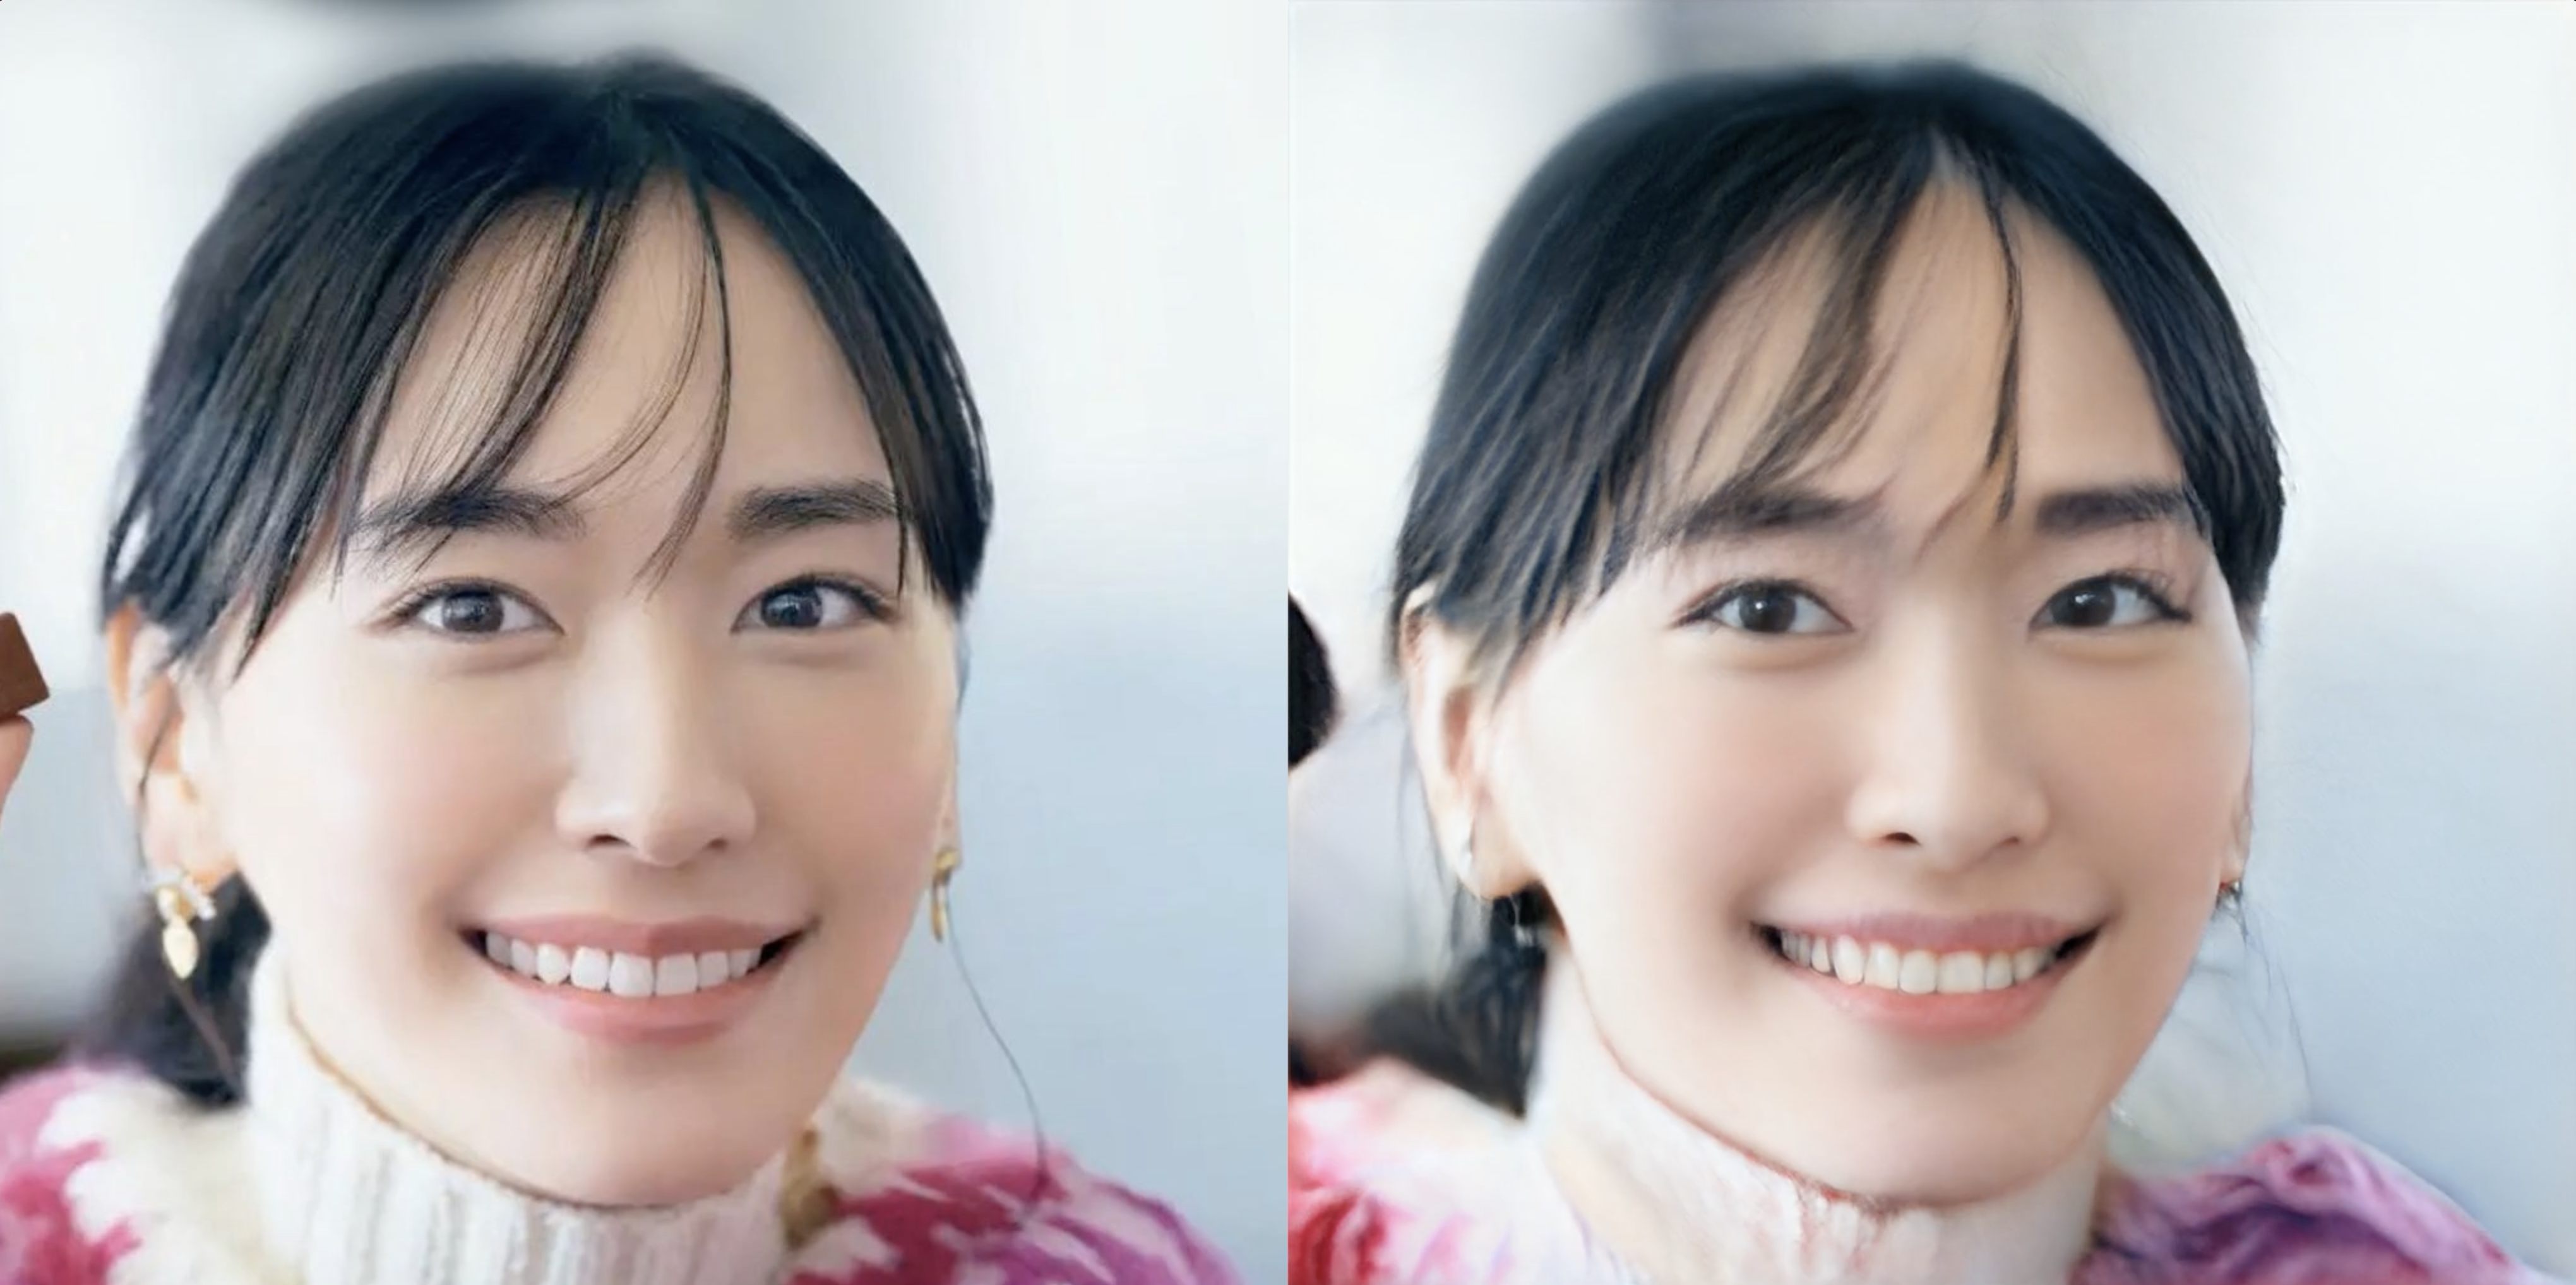
左から、実写ビデオ、潜在変数を無編集で生成したビデオ、潜在変数に若くする編集を行って生成したビデオです。
では、また。
(オリジナルgithub)https://github.com/yuval-alaluf/stylegan3-editing
(twitter投稿)

コメントを残す