1.はじめに
一般的に、StyleGANベースでポートレートのスタイル転送をする場合、顔の位置合わせや領域について制約があります。今回ご紹介する DCT-Net は、これらの制約を解消する技術です。
*この論文は、2022.7に提出されました。
2.DCT-Netとは?
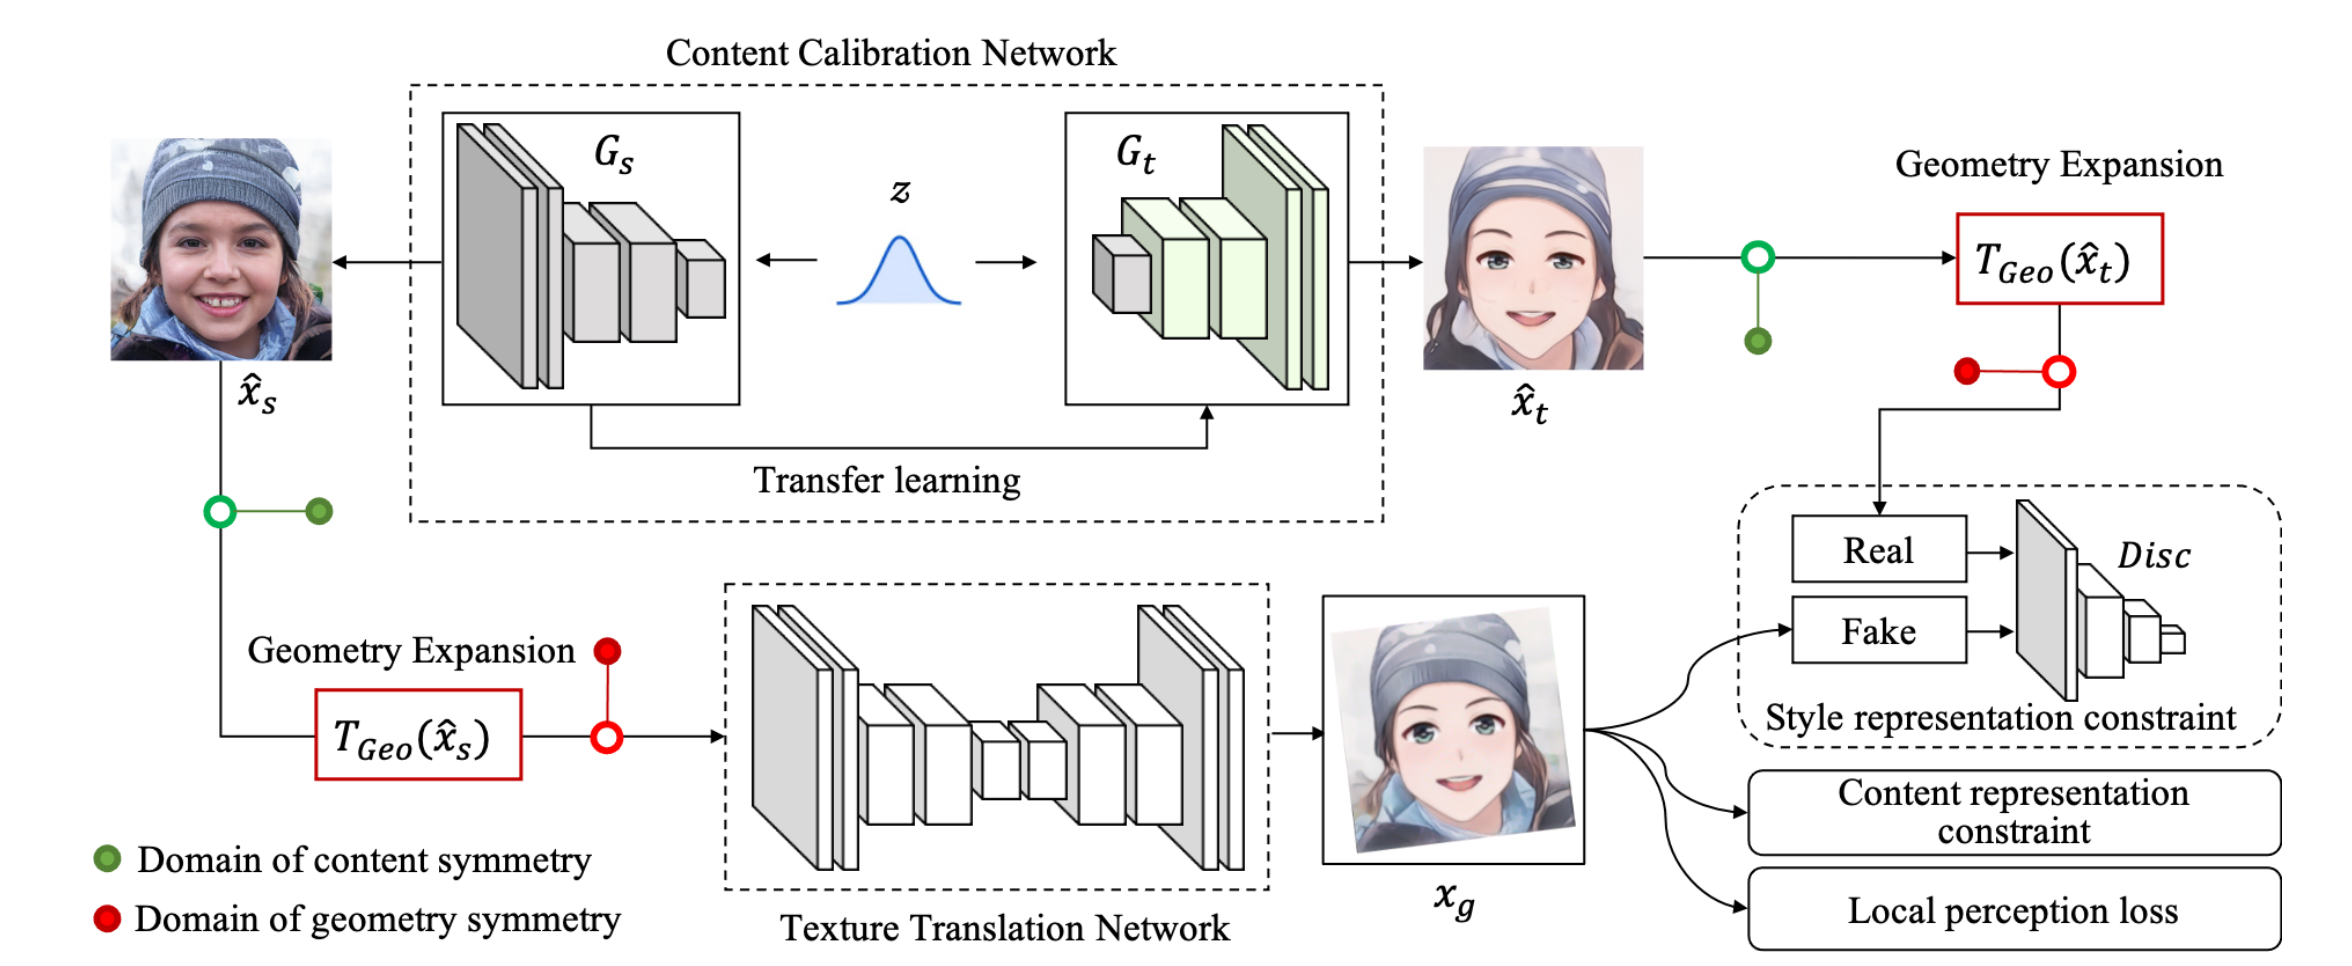
下図が、DCT-Net の概要図です。
まず、上段の Content Calibration Network を作成します。ベクトル zを入力として実写 Xs を生成する StyleGAN ネットワーク Gs と、これを Transfer learning してベクトル z を入力するとスタイル転送画像 Xt を生成するネットワークGtを組み合わせます。これによって、ベクトル z を入力すると実写 Xs とそれに対応するスタイル転送画像 Xt を生成するネットワークが出来ます。
次に、この Content Calibration Network を使って、U-Net構造の Texture Translation Network をGANのフレームワークで学習させます。このとき、 Texture Translation Network の入力 Xs と比較出力 Xt を Geometry Expansion でアフィン変換(拡大縮小、回転、平行移動など)を同期して行うことによって、顔の位置合わせや領域について制約を解消しています。
3.コード
コードはGoogle Colabで動かす形にしてGithubに上げてありますので、それに沿って説明して行きます。自分で動かしてみたい方は、この「リンク」をクリックし表示されたノートブックの先頭にある「Open in Colab」ボタンをクリックすると動かせます。
まず、セットアップを行います。
|
1 2 3 4 5 6 7 8 9 10 11 12 13 14 15 16 17 18 19 20 21 22 23 24 25 26 27 28 29 30 |
#@title **setup** # install modelscope ! pip install "modelscope[cv]" -f https://modelscope.oss-cn-beijing.aliyuncs.com/releases/repo.html ! pip install --upgrade urllib3 # inital setting ! git clone https://github.com/cedro3/NewSeaCity-AI-Media-Transfer.git %cd NewSeaCity-AI-Media-Transfer from function import * ! mkdir picture/images # make pipline from modelscope.outputs import OutputKeys from modelscope.pipelines import pipeline from modelscope.utils.constant import Tasks model_dict = { "anime": "damo/cv_unet_person-image-cartoon_compound-models", "3d": "damo/cv_unet_person-image-cartoon-3d_compound-models", "handdrawn": "damo/cv_unet_person-image-cartoon-handdrawn_compound-models", "sketch": "damo/cv_unet_person-image-cartoon-sketch_compound-models", "art": "damo/cv_unet_person-image-cartoon-artstyle_compound-models" } img_anime = pipeline(Tasks.image_portrait_stylization, model= model_dict["anime"]) img_3d = pipeline(Tasks.image_portrait_stylization, model= model_dict["3d"]) img_handdrawn = pipeline(Tasks.image_portrait_stylization, model= model_dict["handdrawn"]) img_sketch = pipeline(Tasks.image_portrait_stylization, model= model_dict["sketch"]) img_art = pipeline(Tasks.image_portrait_stylization, model= model_dict["art"]) |
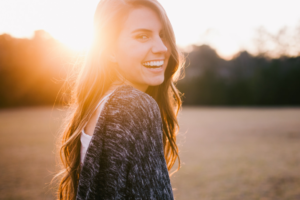
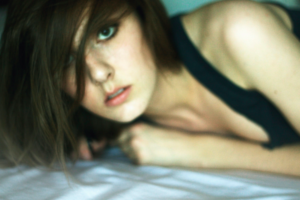
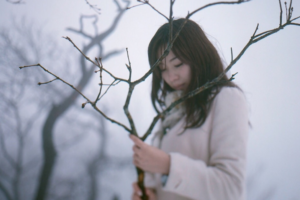
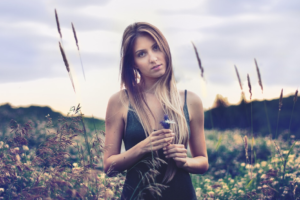
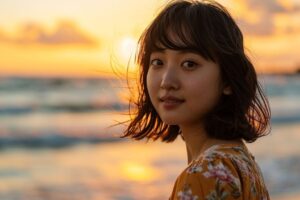
次に、サンプル画像を見てみましょう。なお、自分の用意した画像を使いたい場合は、picture/pic フォルダにアップロードして下さい。
|
1 2 |
#@title **display samples** display_pic('picture/pic') |

それでは、スタイル転送をしてみましょう。style で5つのスタイル(anime, 3d, handdraw, sketch, art)の中から1つを選択し、filename でファイル名を指定して実行します。ここでは、style = 3d、filename = 02.jpg を指定しています。
|
1 2 3 4 5 6 7 8 9 10 11 12 13 14 15 16 17 18 19 20 21 |
#@title **make image with various style** import os import cv2 from IPython.display import Image,display, clear_output style = "3d" #@param ["anime", "3d", "handdrawn", "sketch", "art"] filename = "02.jpg" #@param {type:"string"} img_path = 'picture/pic/'+filename # style transfer if style == 'anime': result = img_anime(img_path) if style == '3d': result = img_3d(img_path) if style == 'handdrawn': result = img_handdrawn(img_path) if style == 'sketch': result = img_sketch(img_path) if style == 'art': result = img_art(img_path) # save & display save_name = 'picture/images/' + os.path.splitext(filename)[0] +'_'+style+'.jpg' cv2.imwrite(save_name, result[OutputKeys.OUTPUT_IMG]) clear_output() display(Image(save_name)) |
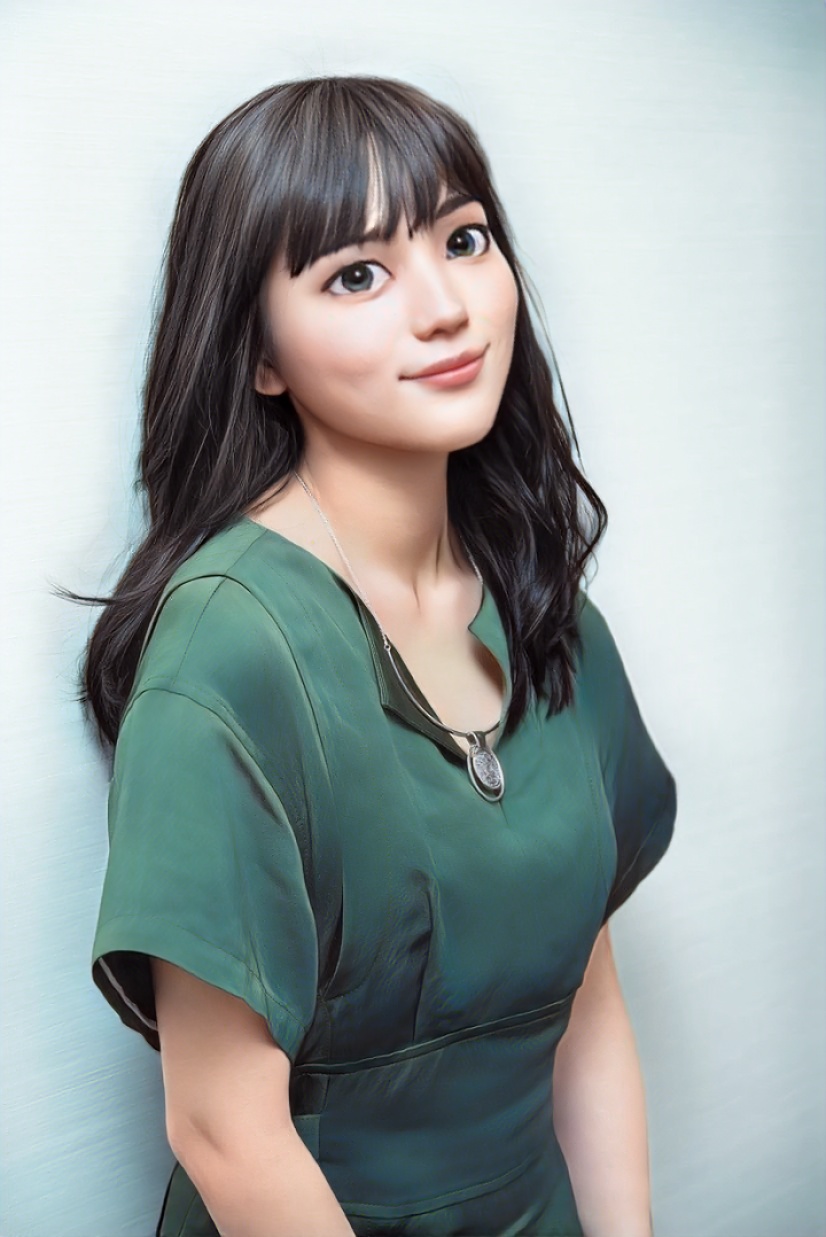
ダウンロードする場合は、下記を実行します(chrome専用です)。
|
1 2 3 |
#@title **download image** (chrome) from google.colab import files files.download(save_name) |
その他の4つのスタイルについては、こんな感じになります。

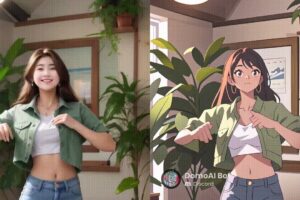
参考に、動画のスタイル変換もやってみましょうか。まず、video で指定したファイルをフレームにバラします。ここでは、video = 03.mp4 を指定します。
自分の用意した動画を使いたい場合は、movie/video フォルダにアップロードして下さい。
|
1 2 3 4 5 6 7 8 9 10 11 12 13 14 15 16 17 18 19 20 21 |
#@title **video-to-frames** #@markdown upload video(mp4) with sound to movie/video folder video = '03.mp4' #@param {type:"string"} video_file = 'movie/video/'+video image_dir='movie/frames/' image_file='%s.jpg' # video_2_images reset_folder('movie/frames') fps, i, interval = video_2_images(video_file, image_dir, image_file) # display strat frame from google.colab.patches import cv2_imshow img = cv2.imread('movie/frames/000000.jpg') cv2_imshow(img) # display parameter print('fps = ', fps) print('frames = ', i) print('interval = ', interval) |
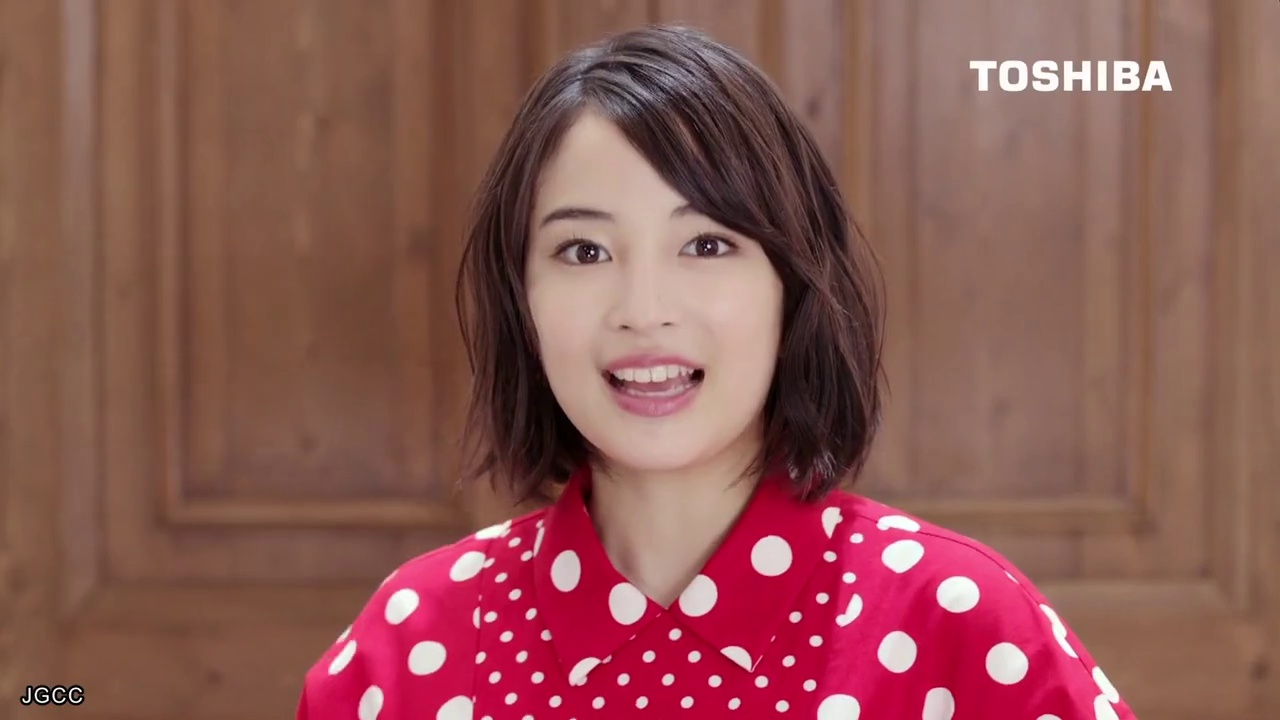
frames = 31
interval = 1
次に、バラしたフレーム毎にスタイル転送して動画を作成します。style で5つのスタイル(anime, 3d, handdraw, sketch, art)の中から1つを選択し実行します。ここでは、style = handdraw を指定しています。
|
1 2 3 4 5 6 7 8 9 10 11 12 13 14 15 16 17 18 19 20 21 22 23 24 25 26 27 28 29 30 31 32 33 |
#@title **make video with various style** import glob from tqdm import tqdm import cv2 style = "handdrawn" #@param ["anime", "3d", "handdrawn", "sketch", "art"] reset_folder('movie/images') # style transfer each frame files = sorted(glob.glob('movie/frames/*.jpg')) for i, file in enumerate(tqdm(files)): if style == 'anime': result = img_anime(file) if style == '3d': result = img_3d(file) if style == 'handdrawn': result = img_handdrawn(file) if style == 'sketch': result = img_sketch(file) if style == 'art': result = img_art(file) save_name = 'movie/images/' + str(i).zfill(6) + '.jpg' cv2.imwrite(save_name, result[OutputKeys.OUTPUT_IMG]) # make movie print('making movie...') fps_r = fps/interval file_path = 'movie/images/%06d.jpg' ! ffmpeg -y -r $fps_r -i $file_path -vcodec libx264 -pix_fmt yuv420p -loglevel error out.mp4 # audio extraction/addition print('preparation for sound...') ! ffmpeg -y -i $video_file -loglevel error sound.mp3 ! ffmpeg -y -i out.mp4 -i sound.mp3 -loglevel error output.mp4 # play movie print('waiting for play movie...') display_mp4('output.mp4') |
ダウンロードする場合は、下記を実行します(chrome専用です)。
|
1 2 3 |
#@title **download movie** (chrome) from google.colab import files files.download('output.mp4') |
いかがだったでしょうか。ポートレートのスタイル変換の質が上がっていますね。
では、また。
(オリジナルgithub)https://github.com/menyifang/DCT-Net
(twitter投稿)



コメントを残す