1.はじめに
AI画像生成を行うStable Diffusionに、img2img(画像と文から画像生成する機能)が追加されました。前回に続いて、Google Colabで動かしてみたいと思います。
2.コード
Hugging Faceからアクセス・トークンの取得をしていない方は、前回のブログの「2.アクセス・トークンの取得」を参考に取得してから下記に進んで下さい。
コードはGoogle Colabで動かす形にしてGithubに上げてありますので、それに沿って説明して行きます。自分で動かしてみたい方は、この「リンク」をクリックし表示されたノートブックの先頭にある「Colab on Web」ボタンをクリックすると動かせます。
まず、セットアップをおこないます。
|
1 2 3 4 5 6 7 8 9 10 11 12 13 14 15 16 17 18 19 20 21 22 23 |
#@title **セットアップ** # ライブラリ・インストール ! pip install transformers gradio scipy ftfy "ipywidgets>=7,<8" datasets # githubからコードをコピーしインストール ! git clone https://github.com/huggingface/diffusers.git ! pip install git+https://github.com/huggingface/diffusers.git %cd diffusers # 関数定義(追加) import PIL from PIL import Image import numpy as np def preprocess(image): w, h = image.size w, h = map(lambda x: x - x % 32, (w, h)) # resize to integer multiple of 32 image = image.resize((w, h), resample=PIL.Image.LANCZOS) image = np.array(image).astype(np.float32) / 255.0 image = image[None].transpose(0, 3, 1, 2) image = torch.from_numpy(image) return 2.*image - 1. |
次に、Hugging Faceにログインします。
|
1 2 3 4 5 6 7 |
#@title **Hugging Faceへログイン** #@markdown ・事前にHagging Faceでアクセス・トークンを取得しておいて下さい from huggingface_hub import notebook_login # ログイン notebook_login() |
すると下記の表示が現れます。your Hugging Face tokens page をクリックしてHugging FaceのHPに飛び、Access Tokensをコピーして来ます。そして、「Token」のところへAccess Tokenをペーストし、「Login」をクリックします。

それでは、本体プログラムを実行します。
|
1 2 3 4 5 6 7 8 9 10 11 12 13 14 15 16 17 18 19 20 21 22 23 24 25 26 27 28 29 30 31 32 33 34 35 36 37 38 39 40 41 42 43 44 45 46 47 48 49 50 51 52 53 54 55 56 57 58 59 60 61 62 63 64 65 66 67 68 69 70 71 72 73 74 75 76 77 78 79 80 81 82 83 84 85 86 87 88 89 90 91 92 93 94 95 96 97 98 99 |
#@title **本体プログラム** import gradio as gr import torch from torch import autocast from diffusers import StableDiffusionPipeline, LMSDiscreteScheduler import requests from PIL import Image from io import BytesIO from IPython.display import clear_output ### #from examples.inference.image_to_image import StableDiffusionImg2ImgPipeline, preprocess from diffusers import StableDiffusionImg2ImgPipeline lms = LMSDiscreteScheduler( beta_start=0.00085, beta_end=0.012, beta_schedule="scaled_linear" ) pipe = StableDiffusionPipeline.from_pretrained( "CompVis/stable-diffusion-v1-4", scheduler=lms, revision="fp16", use_auth_token=True ).to("cuda") pipeimg = StableDiffusionImg2ImgPipeline.from_pretrained( "CompVis/stable-diffusion-v1-4", revision="fp16", torch_dtype=torch.float16, use_auth_token=True ).to("cuda") block = gr.Blocks(css=".container { max-width: 800px; margin: auto; }") num_samples = 2 def infer(prompt, init_image, strength): if init_image != None: init_image = init_image.resize((512, 512)) init_image = preprocess(init_image) with autocast("cuda"): images = pipeimg([prompt] * num_samples, init_image=init_image, strength=strength, guidance_scale=7.5)[0] else: with autocast("cuda"): images = pipe([prompt] * num_samples, guidance_scale=7.5)[0] return images with block as demo: gr.Markdown("<h1><center>Stable Diffusion</center></h1>") gr.Markdown( "Stable Diffusion is an AI model that generates images from any prompt you give!" ) with gr.Group(): with gr.Box(): with gr.Row().style(mobile_collapse=False, equal_height=True): text = gr.Textbox( label="Enter your prompt", show_label=False, max_lines=1 ).style( border=(True, False, True, True), rounded=(True, False, False, True), container=False, ) btn = gr.Button("Run").style( margin=False, rounded=(False, True, True, False), ) strength_slider = gr.Slider( label="Strength", maximum = 1, value = 0.75 ) image = gr.Image( label="Intial Image", type="pil" ) gallery = gr.Gallery(label="Generated images", show_label=False).style( grid=[2], height="auto" ) text.submit(infer, inputs=[text,image,strength_slider], outputs=gallery) btn.click(infer, inputs=[text,image,strength_slider], outputs=gallery) gr.Markdown( """___ <p style='text-align: center'> Created by CompVis and Stability AI <br/> </p>""" ) clear_output() ### demo.launch(debug=True) |
実行が完了すると下記の画面が最後に表示されます。以降は、このGUIから操作を行います。
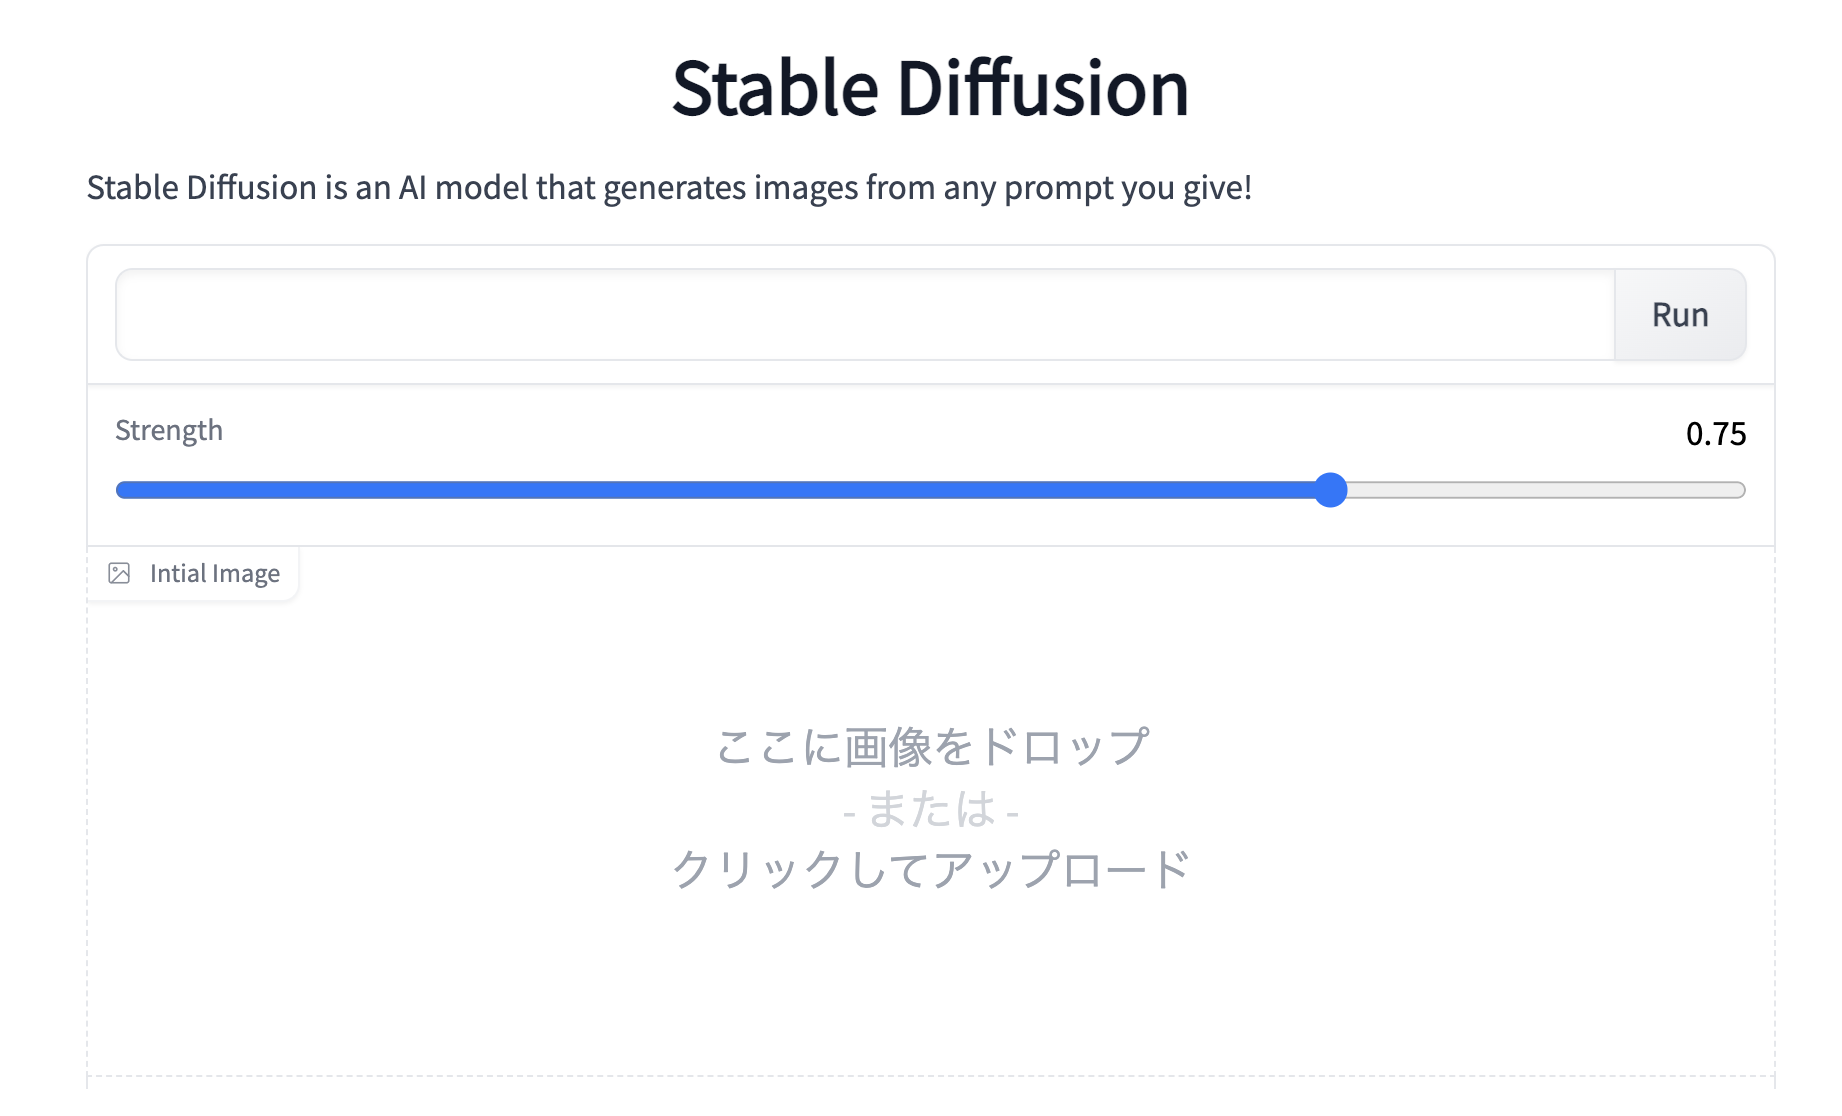
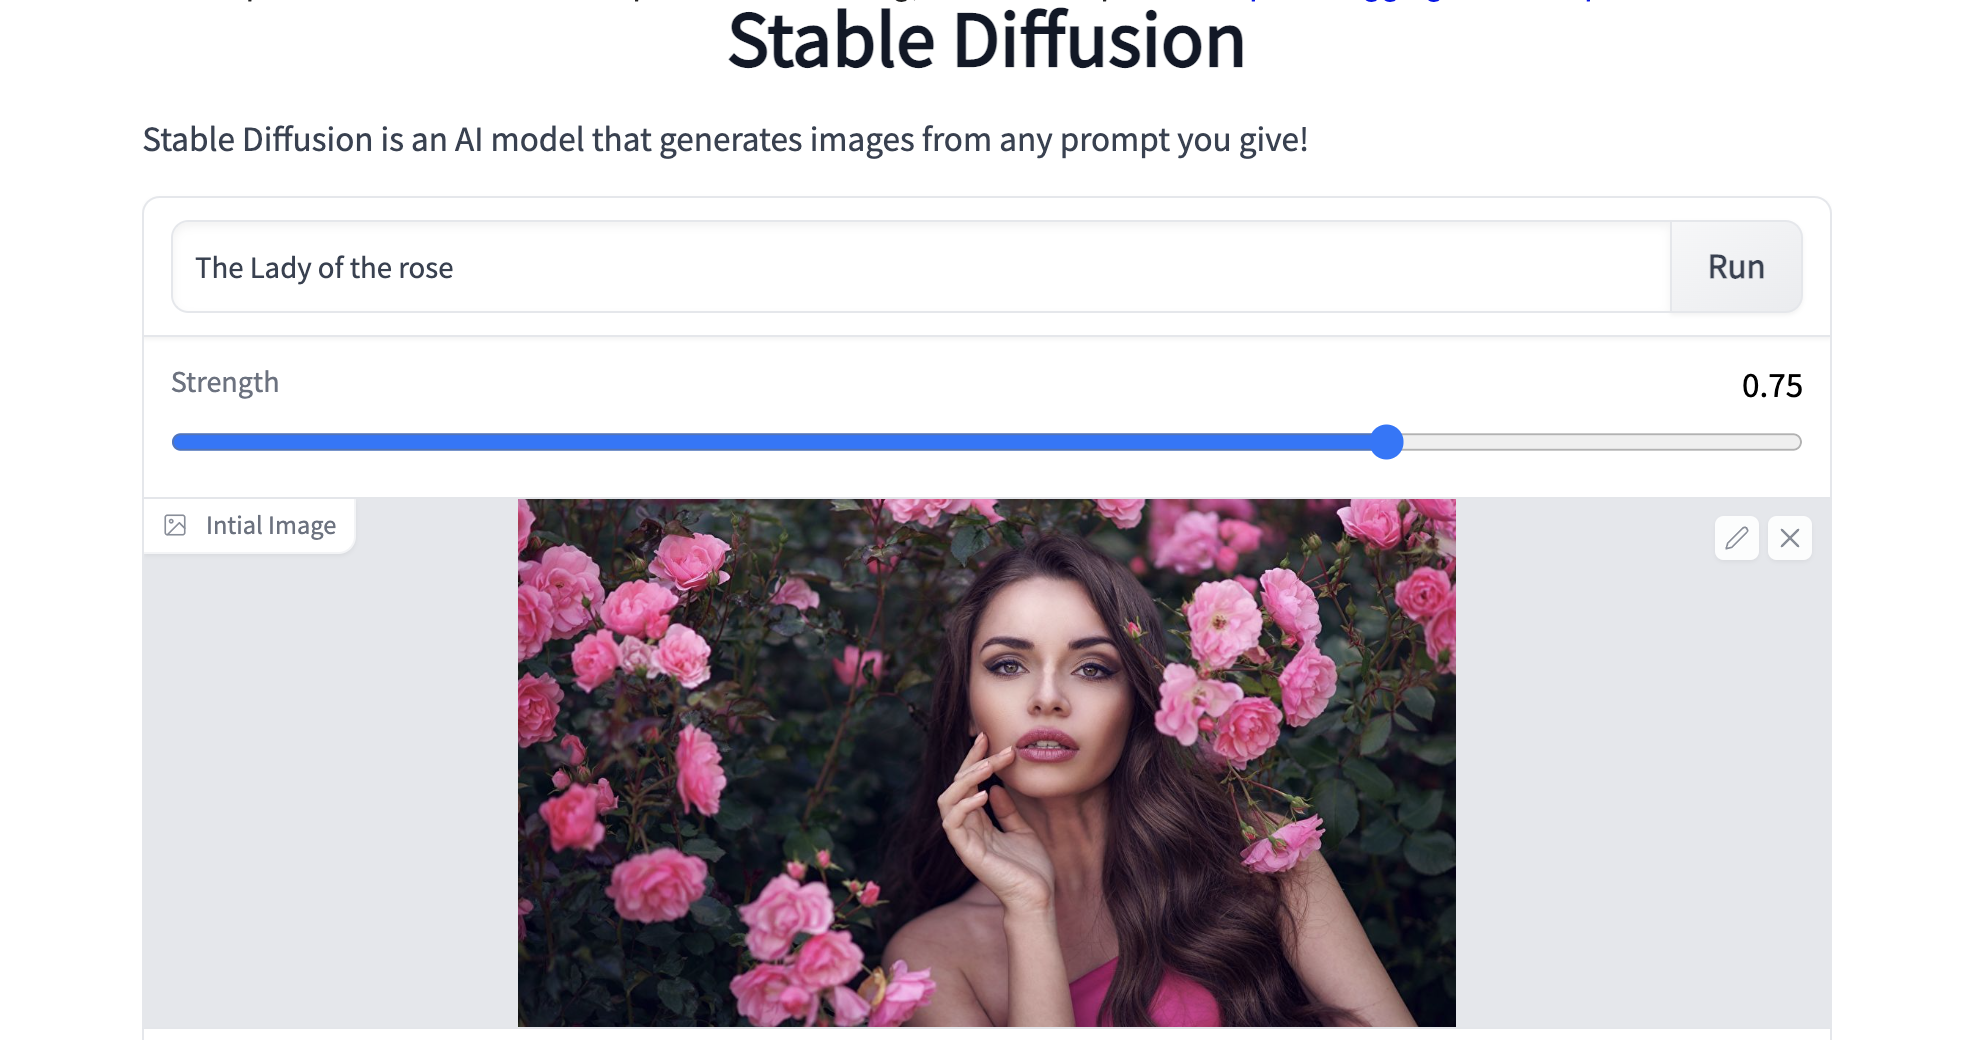
それでは、実際に動かしてみましょう。まず、英文を記入します。ここでは、「The Lady of the rose」と記入しています。次に、Strengthで画像にどれだけ文を影響させるか(数字が大きいほど影響度大)スライダーで設定します。ここでは0.75と設定しています。
そして、画像(jpg)をInital imageにドラッグ&ドロップします(上手く行かない場合はクリックするとファイルウインドウが開くのでそこから選択します)。ここでは、バラの花を背にした女性の画像を使っています。最後に、「Run」をクリックします。
変換が完了すると下に画像が2枚表示されます。これは画像に「The Lady of the rose」という文を0.75のStrength(強さ)で影響させた結果です。基本的な構成は変更せず細部だけオリジナルなものに変わっていることが分かります。
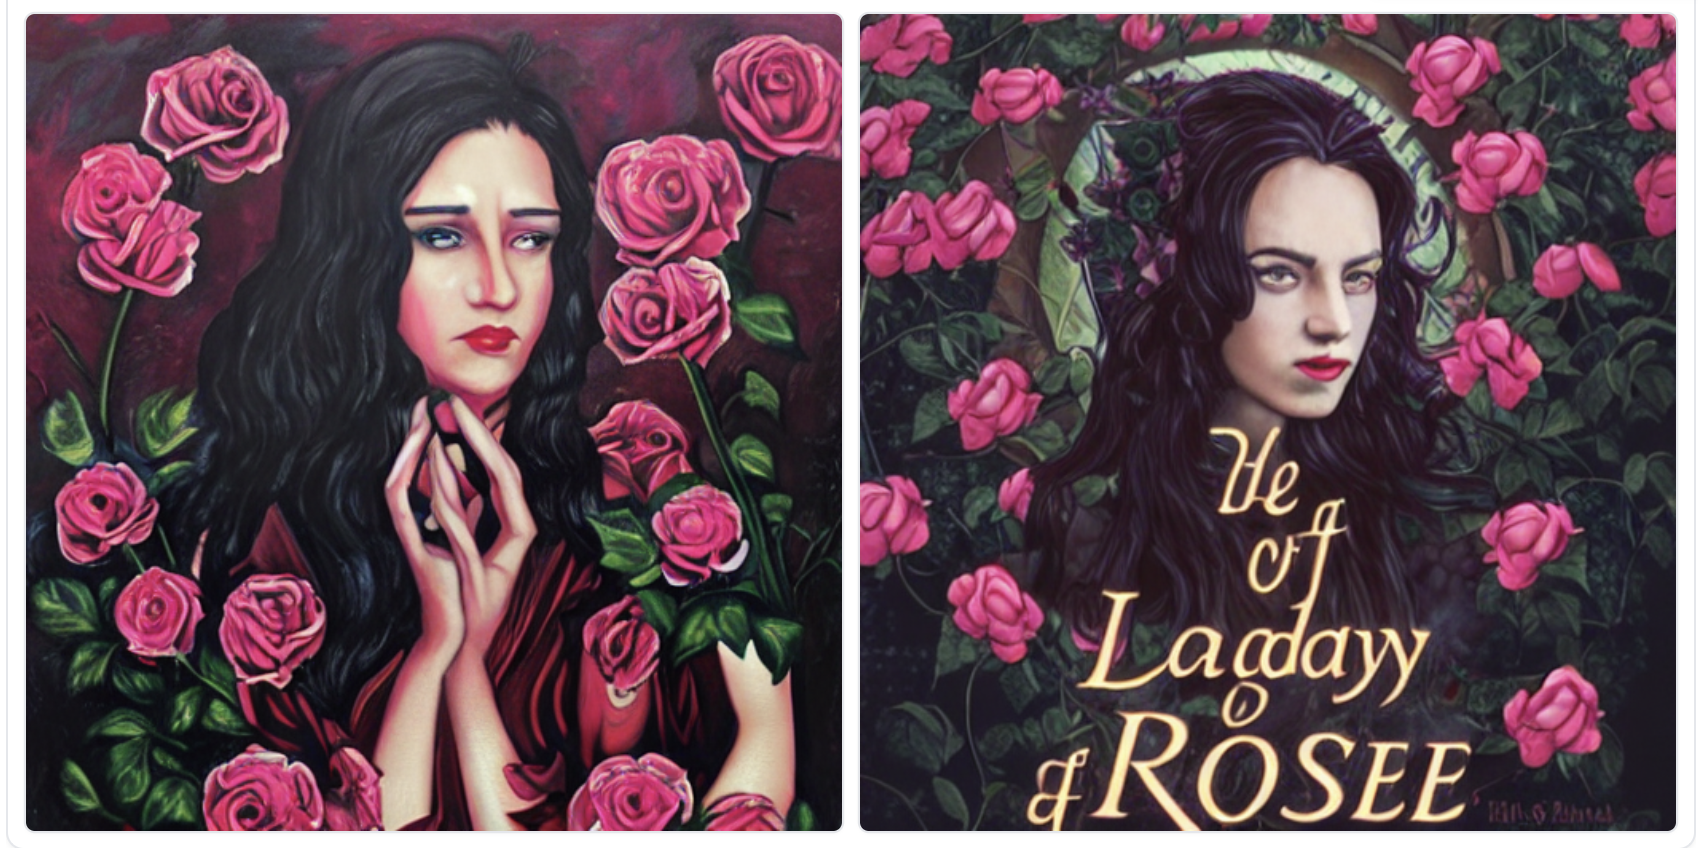
画像のダウンロードは、画像上で右クリックして「名前を付けて画像を保存」を選択します。
なお、Inital imageを空白にして、文のみで画像生成しようとすると、「RuntimeError: CUDA out of memory.」でエラーが発生する場合があります。もしそうなった場合は、「ランタイム/ランタイムを接続解除して削除」をクリックして最初からやり直して下さい。
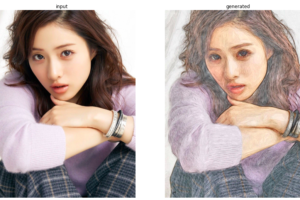
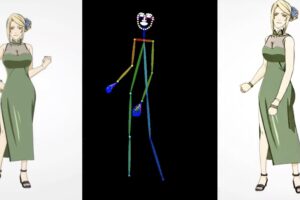
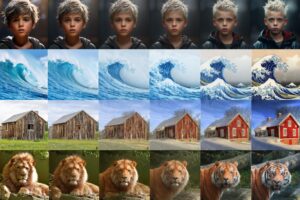
この機能の応用例がTwitterにありましたので、参考に載せておきます。
この機能は色々な応用が出来そうで面白いですね。
では、また。
2022.8.31 アップデート
github.com/huggingface のコードの修正に伴い、コードをアップデートしました。






本体プログラムの12行目「preprocess」でエラーになるんですが、解決方法はありますか?
ImportError: cannot import name ‘preprocess’ from ‘examples.inference.image_to_image’ (/content/diffusers/diffusers/examples/inference/image_to_image.py)
つくねさん
大元の github.com/huggingface のコードが修正されたため、コードをアップデートしました。再度お試しください。
GUI立ち上げまではできたのですが、画像をドロップ、プロンプトを記入して実行すると下記エラーが出ました。解決方法はございますでしょうか?よろしくお願いいたします。
Traceback (most recent call last):
File “/usr/local/lib/python3.7/dist-packages/gradio/routes.py”, line 249, in run_predict
fn_index, raw_input, username, session_state
File “/usr/local/lib/python3.7/dist-packages/gradio/blocks.py”, line 643, in process_api
predictions, duration = await self.call_function(fn_index, processed_input)
File “/usr/local/lib/python3.7/dist-packages/gradio/blocks.py”, line 559, in call_function
block_fn.fn, *processed_input, limiter=self.limiter
File “/usr/local/lib/python3.7/dist-packages/anyio/to_thread.py”, line 32, in run_sync
func, *args, cancellable=cancellable, limiter=limiter
File “/usr/local/lib/python3.7/dist-packages/anyio/_backends/_asyncio.py”, line 937, in run_sync_in_worker_thread
return await future
File “/usr/local/lib/python3.7/dist-packages/anyio/_backends/_asyncio.py”, line 867, in run
result = context.run(func, *args)
File “”, line 46, in infer
images = pipeimg([prompt] * num_samples, init_image=init_image, strength=strength, guidance_scale=7.5)[“sample”]
File “/usr/local/lib/python3.7/dist-packages/torch/autograd/grad_mode.py”, line 27, in decorate_context
return func(*args, **kwargs)
File “/usr/local/lib/python3.7/dist-packages/diffusers/pipelines/stable_diffusion/pipeline_stable_diffusion_img2img.py”, line 101, in __call__
init_latents = self.scheduler.add_noise(init_latents, noise, timesteps)
File “/usr/local/lib/python3.7/dist-packages/diffusers/schedulers/scheduling_pndm.py”, line 266, in add_noise
sqrt_alpha_prod = self.alphas_cumprod[timesteps] ** 0.5
IndexError: index 2683 is out of bounds for dimension 0 with size 1000
黒猫大和さん
昨夜、大元の github.com/huggingfaceでバグが発生したようで、トラブったようです。現在は大丈夫ですので、お試しください、
とても有益な情報ありがとうございます。
512*512の出力には成功したのですが、720*480の出力が上手くいかないです。
どのようにすればよいか教えて頂けると幸いです。
peさん
今回ご紹介したモデルは出力が512*512固定です ^^
本体プログラムの実行にて以下のようなエラーが出てしまうのですが、
どうすればいいかご教授願えませんでしょうか?宜しくお願い致します。
↓↓↓
ImportError Traceback (most recent call last)
in
10
11 #from examples.inference.image_to_image import StableDiffusionImg2ImgPipeline, preprocess
—> 12 from diffusers import StableDiffusionImg2ImgPipeline
13
14 lms = LMSDiscreteScheduler(
ImportError: cannot import name ‘StableDiffusionImg2ImgPipeline’ from ‘diffusers’ (/usr/local/lib/python3.7/dist-packages/diffusers/__init__.py)
りささん
今、ブログのリンクから実行しましたが問題なく動作し、残念ながらエラーの再現が出来ませんでした。
8/31にコードをアップデートしています。再度ブログのリンクから飛んで試してみて下さい。
お手数おかけしてすみませんでした。
承知いたしました、ありがとうございましたm(__)m
いつもgooglecolaboratoryで利用させていただいております。
ありがとうございます。
以下のようなエラーが出るようになりました。
なにか解決策はありますでしょうか?
Traceback (most recent call last):
File “/usr/local/lib/python3.8/dist-packages/gradio/routes.py”, line 292, in run_predict
output = await app.blocks.process_api(
File “/usr/local/lib/python3.8/dist-packages/gradio/blocks.py”, line 1007, in process_api
result = await self.call_function(fn_index, inputs, iterator, request)
File “/usr/local/lib/python3.8/dist-packages/gradio/blocks.py”, line 848, in call_function
prediction = await anyio.to_thread.run_sync(
File “/usr/local/lib/python3.8/dist-packages/anyio/to_thread.py”, line 31, in run_sync
return await get_asynclib().run_sync_in_worker_thread(
File “/usr/local/lib/python3.8/dist-packages/anyio/_backends/_asyncio.py”, line 937, in run_sync_in_worker_thread
return await future
File “/usr/local/lib/python3.8/dist-packages/anyio/_backends/_asyncio.py”, line 867, in run
result = context.run(func, *args)
File “”, line 46, in infer
images = pipeimg([prompt] * num_samples, init_image=init_image, strength=strength, guidance_scale=7.5)[0]
File “/usr/local/lib/python3.8/dist-packages/torch/autograd/grad_mode.py”, line 27, in decorate_context
return func(*args, **kwargs)
TypeError: __call__() missing 1 required positional argument: ‘image’
nakashimashi88さん
情報ありがとうございます。
パイプラインの仕様見直しがあったためエラーが発生してました。
修正済みです。ブログのリンクから再度お試しください^^。
いつもgooglecolaboratoryで利用させていただいております。
ありがとうございます。
以下のようなエラーが出るようになりました。
なにか解決策はありますでしょうか?
Traceback (most recent call last):
File “/usr/local/lib/python3.8/dist-packages/gradio/routes.py”, line 292, in run_predict
output = await app.blocks.process_api(
File “/usr/local/lib/python3.8/dist-packages/gradio/blocks.py”, line 1007, in process_api
result = await self.call_function(fn_index, inputs, iterator, request)
File “/usr/local/lib/python3.8/dist-packages/gradio/blocks.py”, line 848, in call_function
prediction = await anyio.to_thread.run_sync(
File “/usr/local/lib/python3.8/dist-packages/anyio/to_thread.py”, line 31, in run_sync
return await get_asynclib().run_sync_in_worker_thread(
File “/usr/local/lib/python3.8/dist-packages/anyio/_backends/_asyncio.py”, line 937, in run_sync_in_worker_thread
return await future
File “/usr/local/lib/python3.8/dist-packages/anyio/_backends/_asyncio.py”, line 867, in run
result = context.run(func, *args)
File “”, line 46, in infer
images = pipeimg([prompt] * num_samples, init_image=init_image, strength=strength, guidance_scale=7.5)[0]
File “/usr/local/lib/python3.8/dist-packages/torch/autograd/grad_mode.py”, line 27, in decorate_context
return func(*args, **kwargs)
TypeError: __call__() missing 1 required positional argument: ‘image’
ナカシさん
情報ありがとうございます。
パイプラインの仕様見直しがあったためエラーが発生してました。
修正済みです。ブログのリンクから再度お試しください^^。