1.はじめに
今回ご紹介するのは、写真や動画をラフスケッチのように変換する informative drawings という技術です。
*この論文は、2022.3に提出されました。
2.informative drawings とは?
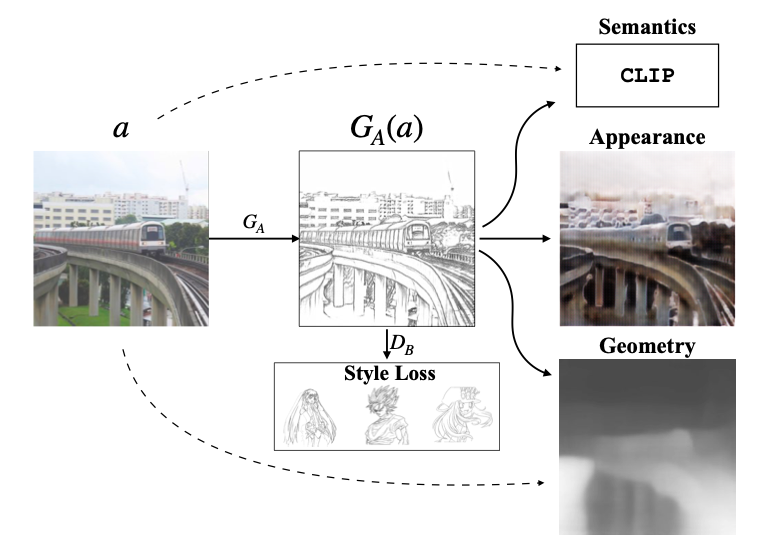
下記が、informative drawings のフロー図です。GANの枠組みの中で、画像とスケッチに関する4つのロスを最小化する形で生成器(GA)を学習させます。
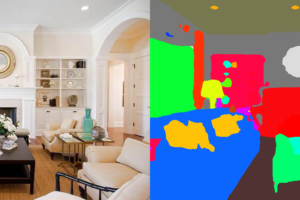
4つのロスとは、CLIPから得られる特徴ベクトルの差(Semantics)、外観の差(Appearance)、物体毎の深度の差(Geometry)、スケッチスタイルの差(Style Loss)です。
3.コード
コードはGoogle Colabで動かす形にしてGithubに上げてありますので、それに沿って説明して行きます。自分で動かしてみたい方は、この「リンク」をクリックし表示されたノートブックの先頭にある「Colab on Web」ボタンをクリックすると動かせます。
まず、セットアップを行います。最近、gdownが不安定なので、エラーが出たら繰り返しトライさせるようにしています。
|
1 2 3 4 5 6 7 8 9 10 11 12 13 14 15 16 17 18 19 20 21 22 23 24 25 26 27 |
#@title セットアップ # githubからコードを取得 ! git clone https://github.com/cedro3/informative-drawings.git %cd informative-drawings # checkpointsフォルダ作成 import os os.makedirs('checkpoints', exist_ok=True) # 学習済みパラメータのダウンロード ! pip install --upgrade gdown import gdown for i in range(10): if os.path.isfile('model.zip'): break else: gdown.download('https://drive.google.com/uc?id=11l5u5sb1PO5Z5YA3IoEHauVPm0k407C1', 'model.zip', quiet=False) ! unzip model.zip -d checkpoints # 関数読み込み from function import * # downloadフォルダ作成 import os os.makedirs('movie/download', exist_ok=True) |
サンプル画像を見てみましょう。
|
1 2 |
#@title サンプル画像の表示 display_pic('examples/test') |

まず、サンプル画像をまとめて線画(anime_style)に変換してみましょう。結果は、results/anime_style フォルダに保存されます。
|
1 2 3 |
#@title スケッチ変換(anime_style) ! python test.py --name anime_style --dataroot examples/test display_pic('results/anime_style') |

次に、サンプル画像をまとめてラフスケッチ(opensketch_style)に変換してみましょう。結果は、results/opensketch_style フォルダに保存されます。
|
1 2 3 |
#@title スケッチ変換(opensketch_style) ! python test.py --name opensketch_style --dataroot examples/test display_pic('results/opensketch_style') |

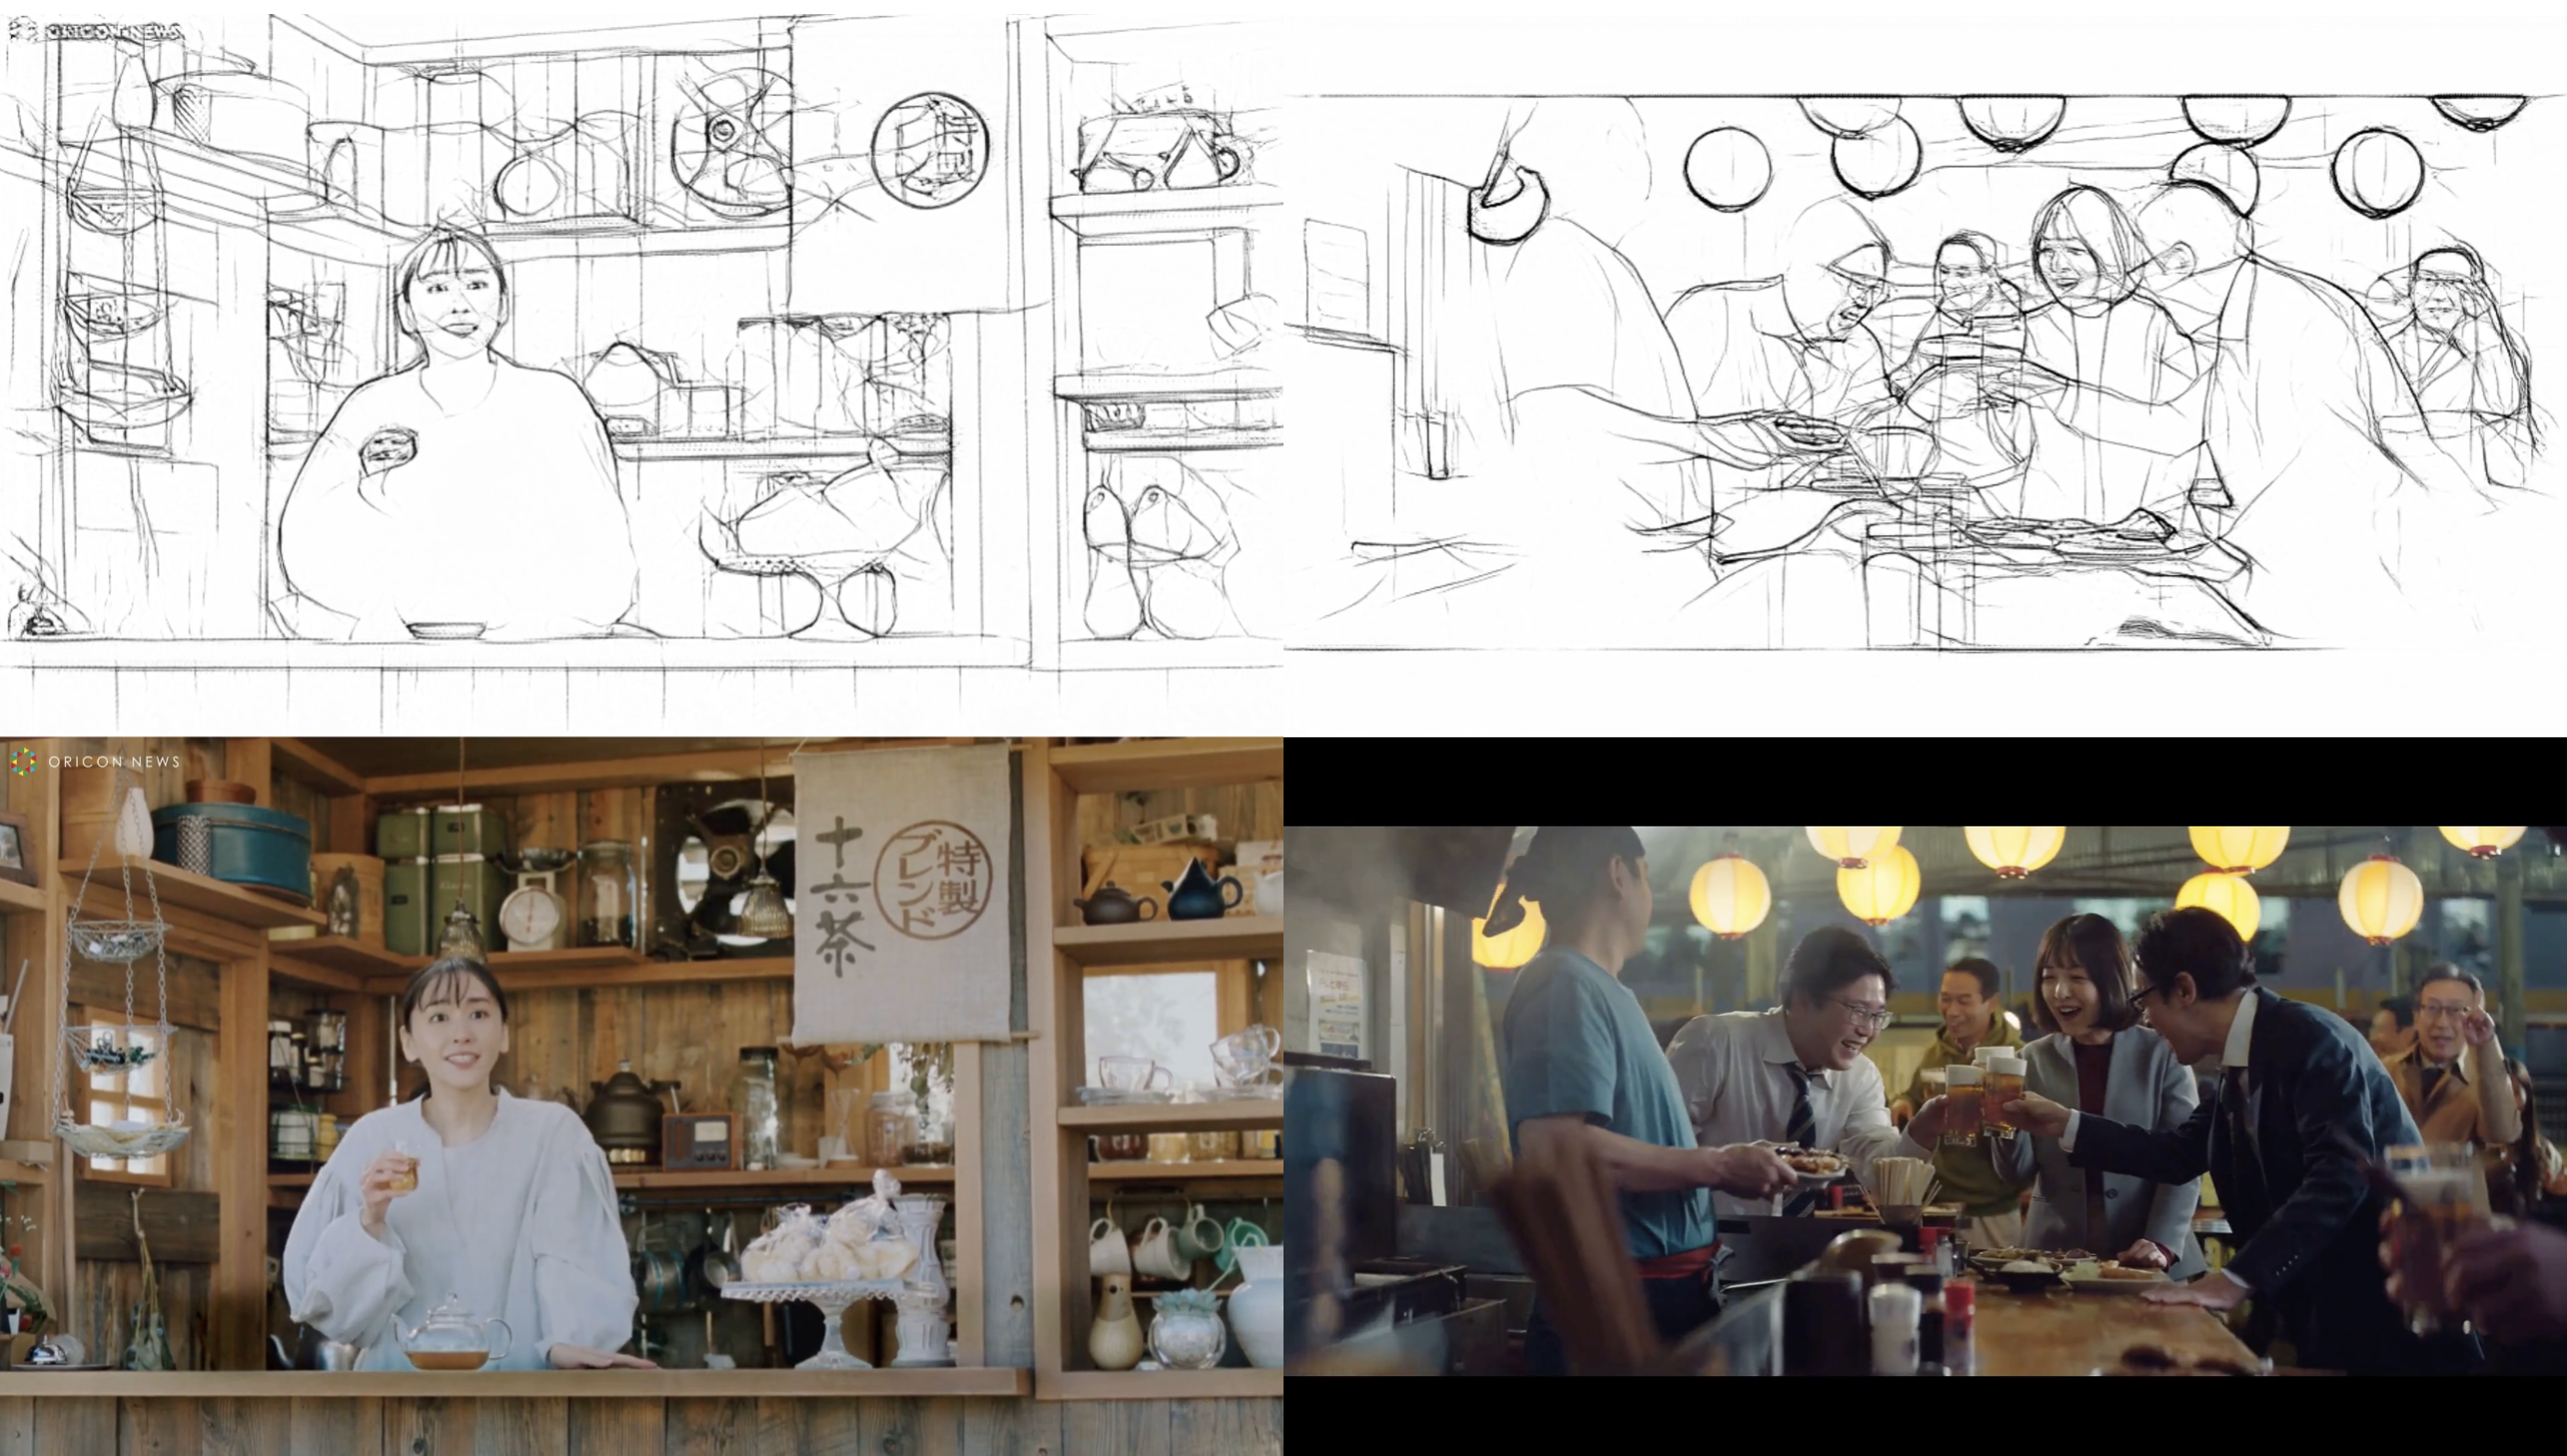
今度は、ビデオをラフスケッチに変換してみましょう。videoに、movie/videoフォルダにあるファイルを指定して実行します。
自分のビデオ(mp4の音声付き)を使用したい場合は、movie/videoフォルダにアップロードして下さい。なお、ビデオの容量が大きいと最後の動画再生のところでクラッシュすることがありますので、ご注意ください。
|
1 2 3 4 5 6 7 8 9 10 11 12 13 14 15 16 17 18 19 20 21 22 23 24 25 26 27 28 29 30 31 32 33 34 35 36 37 38 39 40 41 42 43 44 45 46 47 48 49 50 51 52 53 54 55 56 57 58 59 60 61 62 63 64 65 66 67 68 69 70 71 72 73 74 75 76 77 78 79 80 81 82 83 84 85 86 87 88 89 90 91 92 93 94 95 96 |
#@title ビデオからスケッチ動画(opensketch_style) # --- ビデオを静止画にバラす --- video = '01.mp4' #@param {type:"string"} video_file = 'movie/video/'+video import os import shutil import cv2 # 出力フォルダーリセット reset_folder('movie/images') def video_2_images(video_file= video_file, # ビデオの指定 image_dir='movie/images/', image_file='%s.jpg'): # Initial setting i = 0 interval = 1 length = 3000 # 最大フレーム数 cap = cv2.VideoCapture(video_file) fps = cap.get(cv2.CAP_PROP_FPS) # fps取得 while(cap.isOpened()): flag, frame = cap.read() if flag == False: break if i == length*interval: break if i % interval == 0: cv2.imwrite(image_dir+image_file % str(int(i/interval)).zfill(6), frame) i += 1 cap.release() return fps, i, interval fps, i, interval = video_2_images() print('fps = ', fps) print('frames = ', i) print('interval = ', interval) # --- 静止画をスケッチに変換 --- # 出力フォルダーリセット reset_folder('movie/sketch/opensketch_style') # スケッチ変換 ! python test.py --name opensketch_style\ --dataroot movie/images\ --results_dir movie/sketch\ --how_many 3000\ --size 512 # --- 静止画とスケッチの連結 --- print('concating image & sketch...') import os import cv2 import glob # 出力フォルダーリセット reset_folder('movie/frame') files1 = sorted(glob.glob('movie/images/*.jpg')) files2 = sorted(glob.glob('movie/sketch/opensketch_style/*.png')) cnt = 0 for file1, file2 in zip(files1, files2): img1 = cv2.imread(file1) img2 = cv2.imread(file2) # スケッチのサイズを静止画にリサイズ height, width, channels = img1.shape[:3] img2 = cv2.resize(img2, dsize=(width, height)) # スケッチと静止画を連結して保存 img = cv2.vconcat([img2, img1]) name = os.path.basename(file2) cv2.imwrite('movie/frame/'+str(cnt).zfill(6)+'.jpg', img) cnt +=1 # --- 動画の作成 --- # 動画の作成 print('makeing movie...') ! ffmpeg -y -r $fps -i movie/frame/%06d.jpg -vcodec libx264 -pix_fmt yuv420p -loglevel error out.mp4 # 音声の抽出・付加 print('preparation for sound...') ! ffmpeg -y -i $video_file -loglevel error sound.mp3 ! ffmpeg -y -i out.mp4 -i sound.mp3 -loglevel error output.mp4 # 動画の再生 print('waiting for play movie...') display_mp4('output.mp4') |
動画は、下記でダウンロードできます(google chrome用です)。
|
1 2 3 4 5 6 7 8 9 10 |
#@title 動画のダウンロード import os import shutil download_name = 'movie/download/'+os.path.splitext(video)[0]+'_out.mp4' shutil.copy('output.mp4', download_name) from google.colab import files files.download(download_name) |
では、また。
(オリジナルgithub)https://github.com/carolineec/informative-drawings
(twitter投稿)






コメントを残す