1.はじめに
今回ご紹介するのは、画像を文の指示で編集出来るInstruct-pix2pixという技術です。
*この論文は、2023.1に提出されました。
2.Instruct-pix2pixとは?
Instruct-pix2pixは、「編集指示文」と「編集前後の画像」の大規模なデータセット(45万セット)をモデルに学習させて作りますが、この技術のポイントはこのデータセットをどうやって作るかです。
ここで登場するのが、GPT-3、Stable Diffusion、Prompt2Prompt という3つの技術です。GPT-3は画像生成文と画像指示文の関係をクリアにし、Stable Diffusionは画像生成文から画像を生成します。一見、これで十分なように思えますが、そうは行きません。
問題は、Stable Diffusionの画像生成文の一部の単語を入れ替えたときに、前後の生成画像でその単語以外の部分も変化し易いということです。そこでPrompt2Promptで、入れ替えた単語が画像生成モデルの何処のレイヤに強く反映させるかを制御することによって、この問題をクリアしています。
3.コード
コードはGoogle Colabで動かす形にしてGithubに上げてありますので、それに沿って説明して行きます。自分で動かしてみたい方は、この「リンク」をクリックし表示されたノートブックの先頭にある「Open in Colab」ボタンをクリックすると動かせます。
まず、セットアップを行います。
|
1 2 3 4 5 6 7 8 9 10 11 12 13 14 15 16 17 18 19 20 21 22 23 |
#@title **Setup** # install pacage !pip install diffusers transformers safetensors accelerate # make pipeline import torch from diffusers import StableDiffusionInstructPix2PixPipeline pipe = StableDiffusionInstructPix2PixPipeline.from_pretrained( "timbrooks/instruct-pix2pix", safety_checker=None, torch_dtype=torch.float16 ).to("cuda") # copy github ! git clone https://github.com/cedro3/instruct-pix2pix.git %cd instruct-pix2pix # define function from function import * # make folder ! mkdir picture/results ! mkdir movie/results |
それでは、画像でやってみましょう。最初に、サンプル画像としてpic : 01.jpgを読み込みます。自分で用意した画像を使う場合は、picture/picフォルダにその画像をアップロードして下さい。なお、画像は内部で512×512ピクセルで処理されるので、画像は正方形に近いものが望ましいです。
|
1 2 3 4 5 6 7 8 9 10 11 12 13 |
#@title **InstructPix2Pix** prompt = "turn her cloths into leather jacket" #@param {type:"string"} edit_image = pipe(prompt, image=image, num_inference_steps=20, image_guidance_scale=1.5, guidance_scale=7).images[0] name = prompt.replace(' ','_') pic_result_path = 'picture/results/'+pic+'_'+name+'.jpg' edit_image.save(pic_result_path) edit_image |

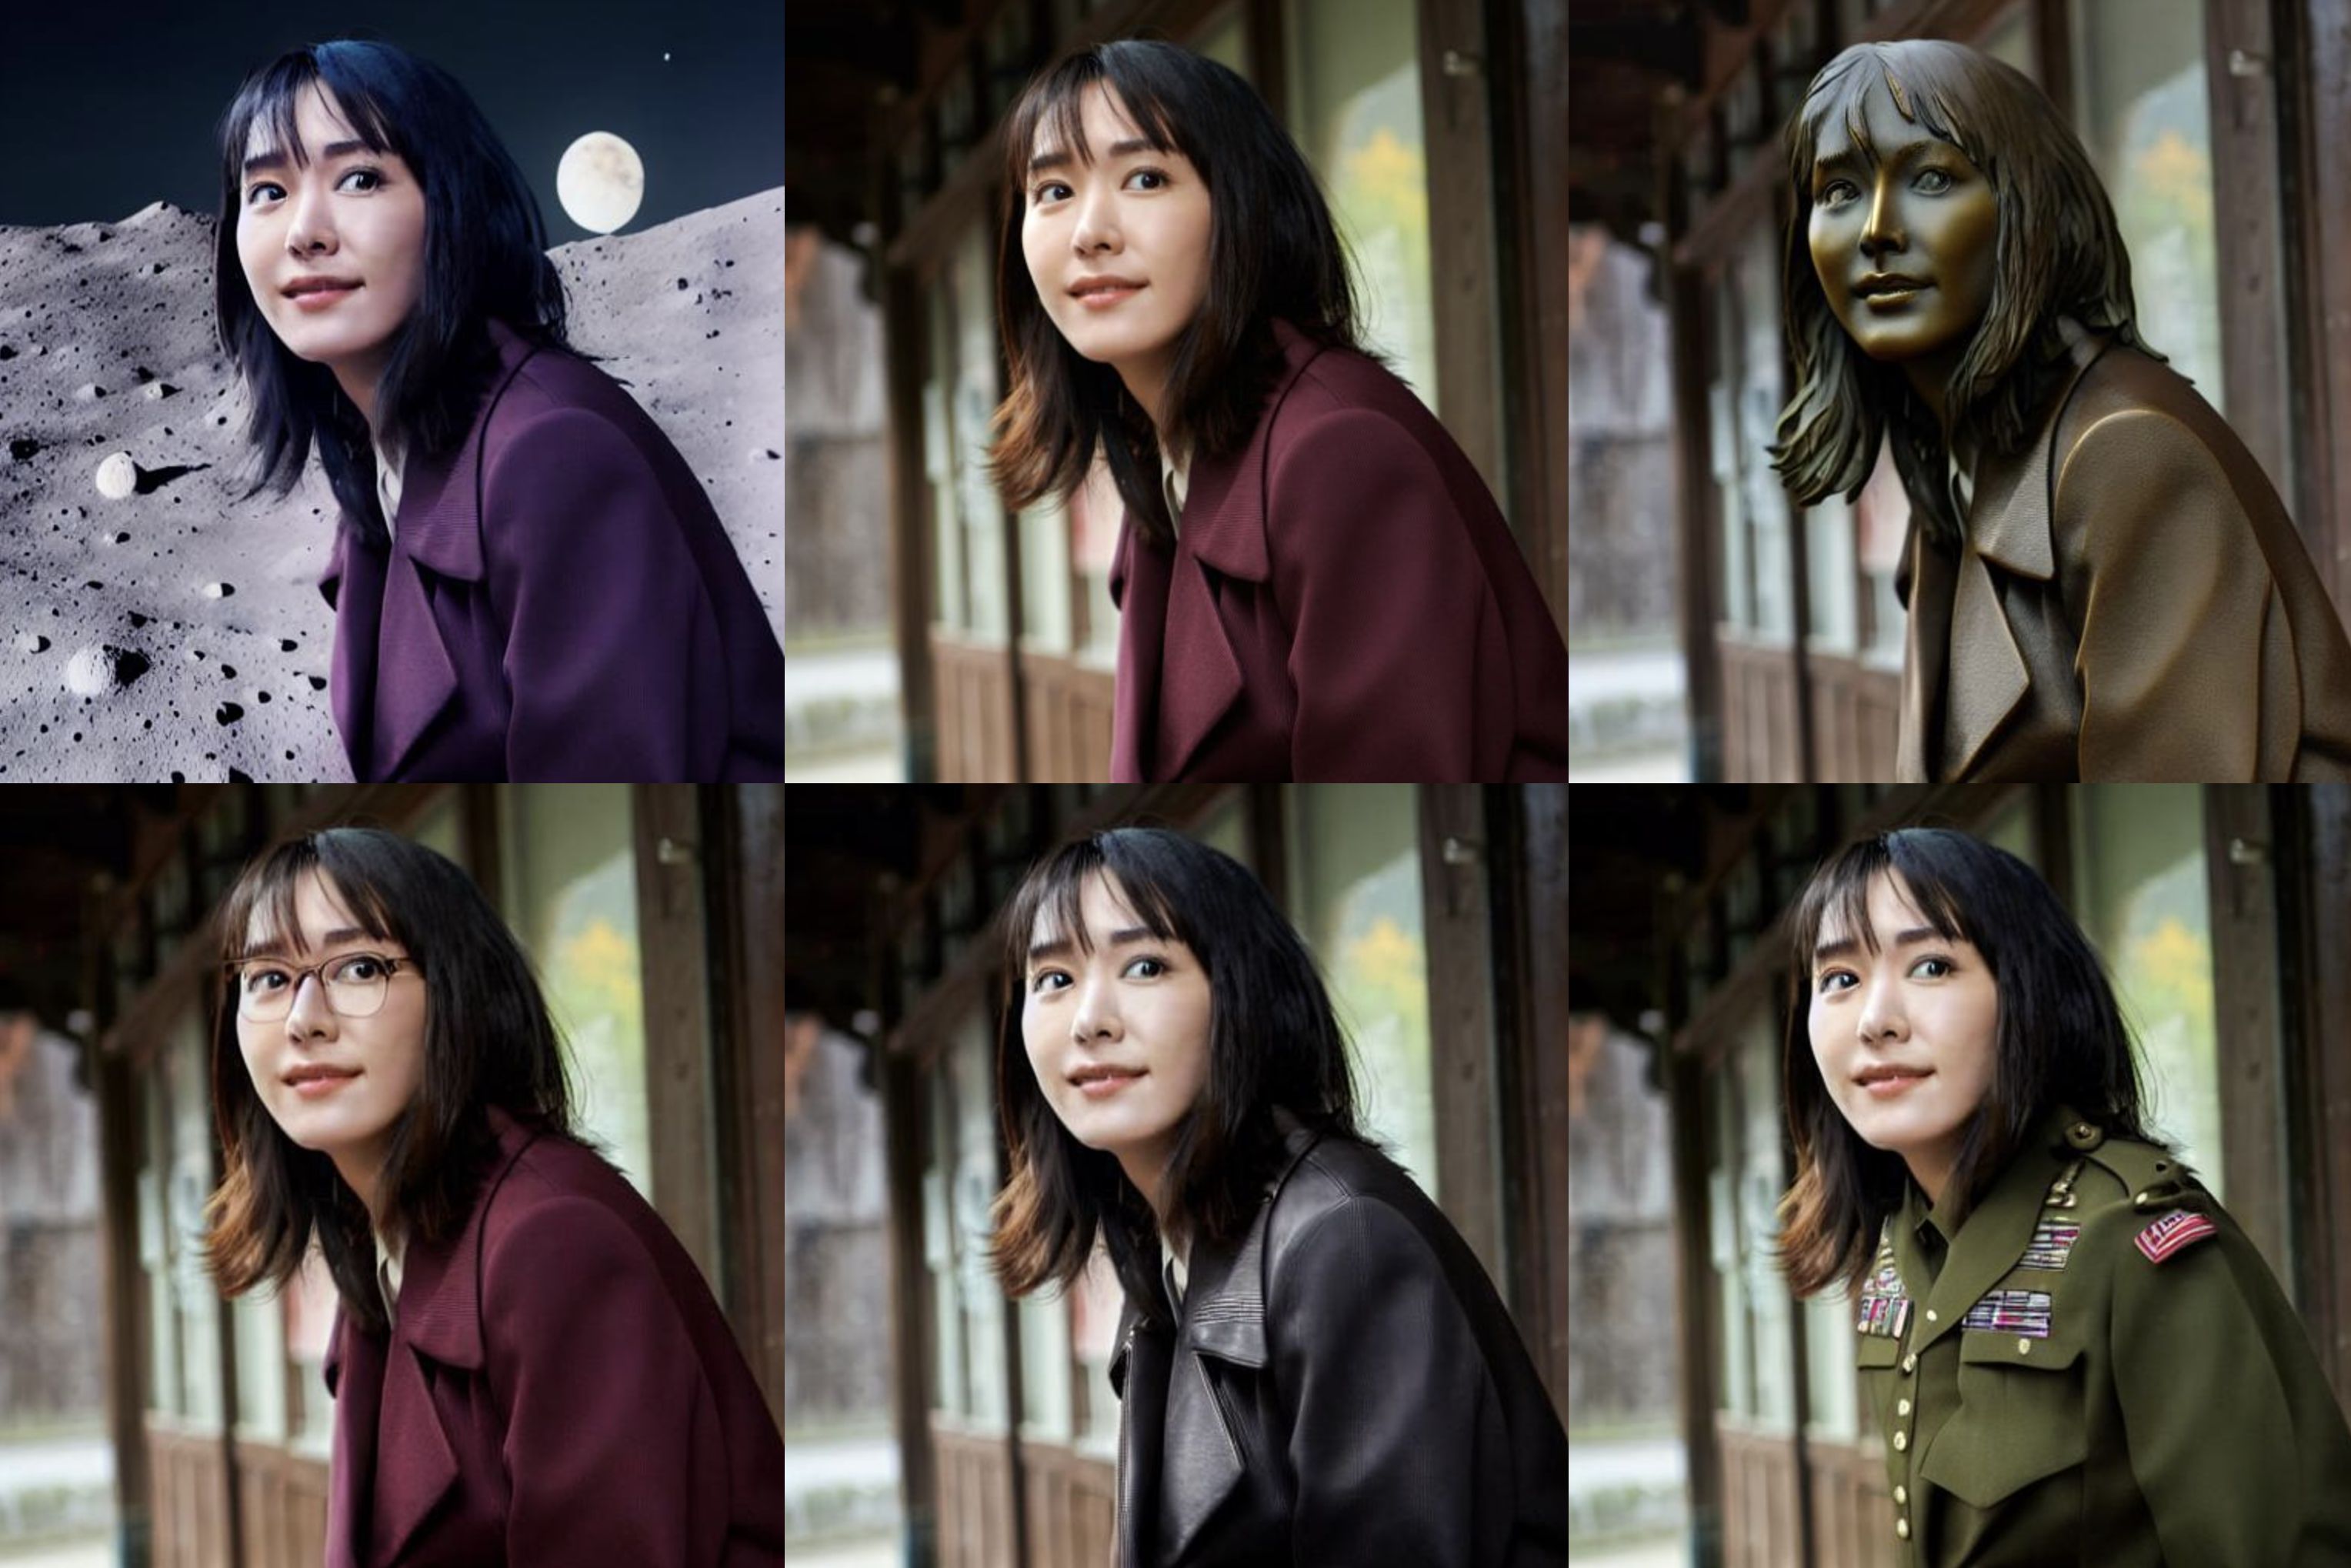
次に、InstructPix2Pixを実行します。promoptは “turn her cloths into leather jacket”(彼女の服を革のジャケットに変える)とします。
|
1 2 3 4 5 6 7 8 9 10 11 12 13 |
#@title **InstructPix2Pix** prompt = "turn her cloths into leather jacket" #@param {type:"string"} edit_image = pipe(prompt, image=image, num_inference_steps=20, image_guidance_scale=1.5, guidance_scale=7).images[0] name = prompt.replace(' ','_') pic_result_path = 'picture/results/'+pic+'_'+name+'.jpg' edit_image.save(pic_result_path) edit_image |
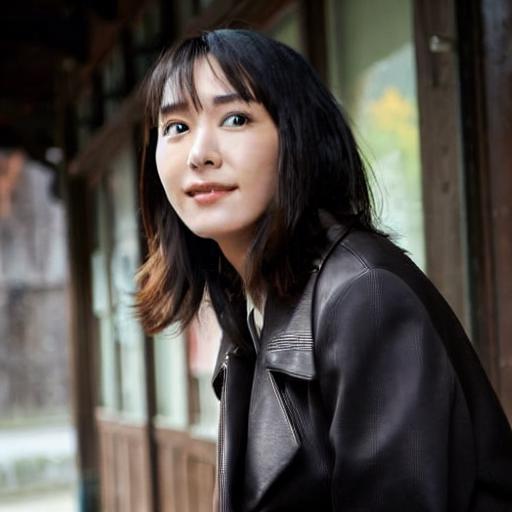
服のみウールジャケットから皮に変更し、その他の要素は変えない画像編集が出来ています。
以下で出来た画像をダウンロードします(Chrome専用)。
|
1 2 3 |
#@title **Download result** from google.colab import files files.download(pic_result_path) |
いくつか他にもやってみましょう。promoptは “Make it a bronze statue”(ブロンズ像にする)です。
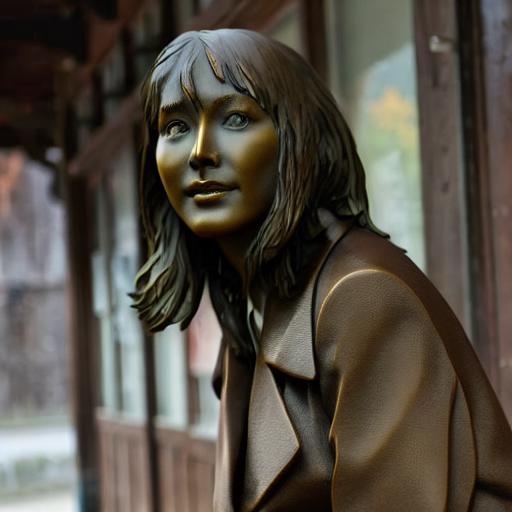
今度は、人がターゲットであることを自動的に認識して、人物をブロンズ像に変更し、その他の要素は変わっていません。
背景を変更してみましょう。promoptは “make it lunar surface in the background”(背景を月面にする)です。
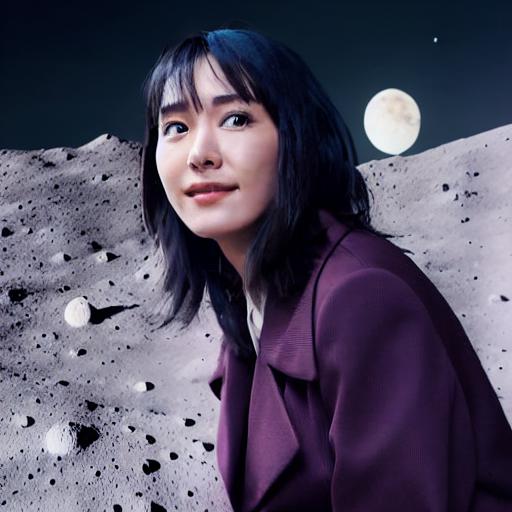
今度は、背景だけ月面になり、その他の要素は変化していません(ウールジャケットの色に若干変化はありますが)。
アクセサリーを付加してみましょう。promoptは “she wears glasses”(彼女はメガネを掛けている)です。
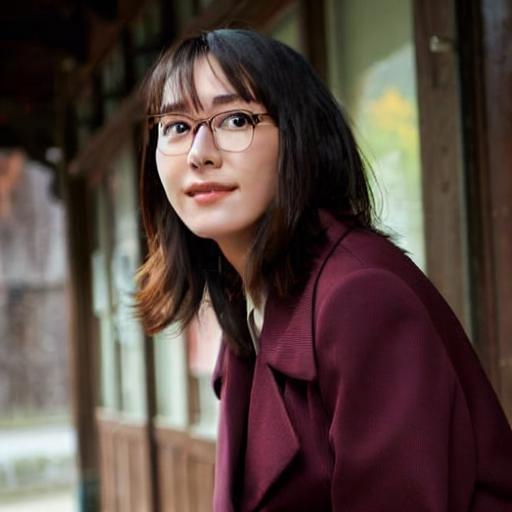
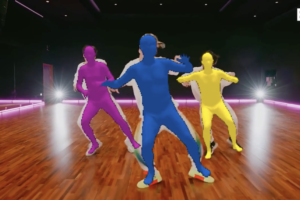
さて、ついでに安定性を見るために、サンプル動画でテストしてみましょう。最初に、video : 01.mp4 を読み込んで画像にバラします。もし、自分で用意した動画を使いたい場合は、movie/videoフォルダに音声付のmp4動画をアップロードして下さい。その際、動画3秒程度にして下さい(めっちゃ変換に時間が掛かるので)。
|
1 2 3 4 5 6 7 8 9 10 11 12 13 14 15 16 17 18 19 20 21 |
#@title **video2images** # setting video = '01.mp4' #@param {type:"string"} video_file ='movie/video/'+video image_dir='movie/frames/' image_file='%s.jpg' # video_2_images reset_folder('movie/frames') fps, i, interval = video_2_images(video_file, image_dir, image_file) # スタートフレーム表示 from google.colab.patches import cv2_imshow img = cv2.imread('movie/frames/000000.jpg') cv2_imshow(img) # パラメータ表示 print('fps = ', fps) print('frames = ', i) print('interval = ', interval) |
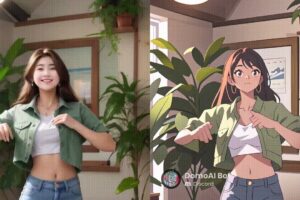
次に、バラした画像に順次InstructPix2Pixを掛けて行きます。prompt は“Make it a Van Gogh painting”(ゴッホの絵にする)です。
|
1 2 3 4 5 6 7 8 9 10 11 12 13 14 15 |
#@title **InstructPix2Pix for images** from PIL import Image import glob reset_folder('movie/images') frames = sorted(glob.glob('movie/frames/*.jpg')) prompt = 'Make it a Van Gogh painting' #@param {type:"string"} for i, frame in enumerate(frames): image = Image.open(frame).resize((512, 512)).convert("RGB") edit_image = pipe(prompt, image=image, num_inference_steps=20, image_guidance_scale=1.5, guidance_scale=7).images[0] edit_image.save('movie/images/'+str(i).zfill(6)+'.jpg') |
変換した画像から動画を作成します。
|
1 2 3 4 5 6 7 8 9 10 11 12 13 14 15 16 17 18 |
#@title **Make movie** # make movie print('makeing movie...') fps_r = fps/interval file_path = 'movie/images/%06d.jpg' ! ffmpeg -y -r $fps_r -i $file_path -vcodec libx264 -pix_fmt yuv420p -loglevel error out.mp4 # add sound print('preparation for sound...') name = prompt.replace(' ','_') movie_result_path = 'movie/results/'+video+'_'+name+'.mp4' ! ffmpeg -y -i $video_file -loglevel error sound.mp3 ! ffmpeg -y -i out.mp4 -i sound.mp3 -loglevel error $movie_result_path # play movie print('waiting for play movie...') display_mp4(movie_result_path) |
若干ゆらぎはありますが、割と変換は安定しているようです。
下記で出来た動画をダウンロードします(Chrome専用)
|
1 2 3 |
#@title **Download result** from google.colab import files files.download(movie_result_path) |
この技術は、空間操作(「画像の左に移動させる」、「位置を入れ替える」、「コップを2つテーブルに置き、1つを椅子におく」など)は苦手であるなどまだ問題点はあります。これからのさらなる発展が楽しみです。
では、また。
(オリジナルgithub)https://github.com/timothybrooks/instruct-pix2pix




コメントを残す