1.はじめに
以前、1枚の人物画像から3Dモデルを作る PIFu という技術をご紹介しました。今回ご紹介するのは、その高解像度版である PIFuHDという技術です。
*この論文は、2020.4に提出されました。
2.PIFuHDとは?
下記に、PIFuHD のフレームワークを示します。PIFuHD は、上段の低解像度な PIFu モジュールに下段の高解像度な Fine PIFu モジュールを加えたものです。

下段のモジュールについて説明します。まず、Input から Image-to-image translation(pix2pixHDを使用)によって Front/back normal(人物の前後)を高精度に推定します。これによって、PIFuでは前後の推定を低解像度で行っていたことや、また後ろの推定も1つのモジュールで行うことによる学習の複雑さが解消されます。
次に、Front/back normal と Input を元画像の解像度のままエンコーダに入力し、512×512のエンコーダで特徴量を抽出し、これに上段から抽出された3D埋め込み特徴量Ωを加えることで、高精度の3Dモデルが得られます。
では、コードを動かしてみましょう。
3.コード
コードはGoogle Colabで動かす形にしてGithubに上げてありますので、それに沿って説明して行きます。自分で動かしてみたい方は、この「リンク」をクリックし表示されたノートブックの先頭にある「Colab on Web」ボタンをクリックすると動かせます。
まず、セットアップを行います。colab にインストールされているPytorch が 1.8.1 になり Pytorch3d が上手く動かなくなっているので、Pytorch 1.6.0 にダウングレードします。
|
1 2 3 4 5 6 7 8 9 10 11 12 13 14 15 |
# ライブラリー取得 !pip install torch==1.6.0+cu101 torchvision==0.7.0+cu101 -f https://download.pytorch.org/whl/torch_stable.html !pip install pytorch3d # githubからpifuhdのコードをコピー !git clone https://github.com/facebookresearch/pifuhd # githubからpose-estimationのコードをコピーし、学習済み重みをダウンロード !git clone https://github.com/Daniil-Osokin/lightweight-human-pose-estimation.pytorch.git %cd /content/lightweight-human-pose-estimation.pytorch/ !wget https://download.01.org/opencv/openvino_training_extensions/models/human_pose_estimation/checkpoint_iter_370000.pth # pifuhdの学習済み重みをダウンロード %cd /content/pifuhd/ !sh ./scripts/download_trained_model.sh |
自分の用意した画像をアップロードします。テスト画像を使用する場合は、スキップして下さい。なお、ブラウザが Safari だとエラーが出ますので、ご注意を(Google Chrome推奨)。ここでは、スキップします。
|
1 2 3 |
%cd /content/pifuhd/sample_images from google.colab import files filename = list(files.upload().keys())[0] |
各種パスの設定をします。
|
1 2 3 4 5 6 7 8 9 10 11 12 13 14 15 |
# セッティング import os try: image_path = '/content/pifuhd/sample_images/%s' % filename except: image_path = '/content/pifuhd/sample_images/test.png' # example image image_dir = os.path.dirname(image_path) file_name = os.path.splitext(os.path.basename(image_path))[0] # output pathes obj_path = '/content/pifuhd/results/pifuhd_final/recon/result_%s_256.obj' % file_name out_img_path = '/content/pifuhd/results/pifuhd_final/recon/result_%s_256.png' % file_name video_path = '/content/pifuhd/results/pifuhd_final/recon/result_%s_256.mp4' % file_name video_display_path = '/content/pifuhd/results/pifuhd_final/result_%s_256_display.mp4' % file_name |
画像を適切な位置にクロップします。クロップデータは、test_rect.txt というファイル名で、./sample_images に保存されます。
|
1 2 3 4 5 6 7 8 9 10 11 12 13 14 15 16 17 18 19 20 21 22 23 24 25 26 27 28 29 30 31 32 33 34 35 36 37 38 39 40 41 42 43 44 45 46 47 48 49 50 51 52 53 54 55 56 57 58 59 60 61 62 63 64 65 66 67 68 69 70 71 72 73 74 75 76 77 |
# クロッピング %cd /content/lightweight-human-pose-estimation.pytorch/ import torch import cv2 import numpy as np from models.with_mobilenet import PoseEstimationWithMobileNet from modules.keypoints import extract_keypoints, group_keypoints from modules.load_state import load_state from modules.pose import Pose, track_poses import demo def get_rect(net, images, height_size): net = net.eval() stride = 8 upsample_ratio = 4 num_keypoints = Pose.num_kpts previous_poses = [] delay = 33 for image in images: rect_path = image.replace('.%s' % (image.split('.')[-1]), '_rect.txt') img = cv2.imread(image, cv2.IMREAD_COLOR) orig_img = img.copy() orig_img = img.copy() heatmaps, pafs, scale, pad = demo.infer_fast(net, img, height_size, stride, upsample_ratio, cpu=False) total_keypoints_num = 0 all_keypoints_by_type = [] for kpt_idx in range(num_keypoints): # 19th for bg total_keypoints_num += extract_keypoints(heatmaps[:, :, kpt_idx], all_keypoints_by_type, total_keypoints_num) pose_entries, all_keypoints = group_keypoints(all_keypoints_by_type, pafs) for kpt_id in range(all_keypoints.shape[0]): all_keypoints[kpt_id, 0] = (all_keypoints[kpt_id, 0] * stride / upsample_ratio - pad[1]) / scale all_keypoints[kpt_id, 1] = (all_keypoints[kpt_id, 1] * stride / upsample_ratio - pad[0]) / scale current_poses = [] rects = [] for n in range(len(pose_entries)): if len(pose_entries[n]) == 0: continue pose_keypoints = np.ones((num_keypoints, 2), dtype=np.int32) * -1 valid_keypoints = [] for kpt_id in range(num_keypoints): if pose_entries[n][kpt_id] != -1.0: # keypoint was found pose_keypoints[kpt_id, 0] = int(all_keypoints[int(pose_entries[n][kpt_id]), 0]) pose_keypoints[kpt_id, 1] = int(all_keypoints[int(pose_entries[n][kpt_id]), 1]) valid_keypoints.append([pose_keypoints[kpt_id, 0], pose_keypoints[kpt_id, 1]]) valid_keypoints = np.array(valid_keypoints) if pose_entries[n][10] != -1.0 or pose_entries[n][13] != -1.0: pmin = valid_keypoints.min(0) pmax = valid_keypoints.max(0) center = (0.5 * (pmax[:2] + pmin[:2])).astype(np.int) radius = int(0.65 * max(pmax[0]-pmin[0], pmax[1]-pmin[1])) elif pose_entries[n][10] == -1.0 and pose_entries[n][13] == -1.0 and pose_entries[n][8] != -1.0 and pose_entries[n][11] != -1.0: # if leg is missing, use pelvis to get cropping center = (0.5 * (pose_keypoints[8] + pose_keypoints[11])).astype(np.int) radius = int(1.45*np.sqrt(((center[None,:] - valid_keypoints)**2).sum(1)).max(0)) center[1] += int(0.05*radius) else: center = np.array([img.shape[1]//2,img.shape[0]//2]) radius = max(img.shape[1]//2,img.shape[0]//2) x1 = center[0] - radius y1 = center[1] - radius rects.append([x1, y1, 2*radius, 2*radius]) np.savetxt(rect_path, np.array(rects), fmt='%d') net = PoseEstimationWithMobileNet() checkpoint = torch.load('checkpoint_iter_370000.pth', map_location='cpu') load_state(net, checkpoint) get_rect(net.cuda(), [image_path], 512) |
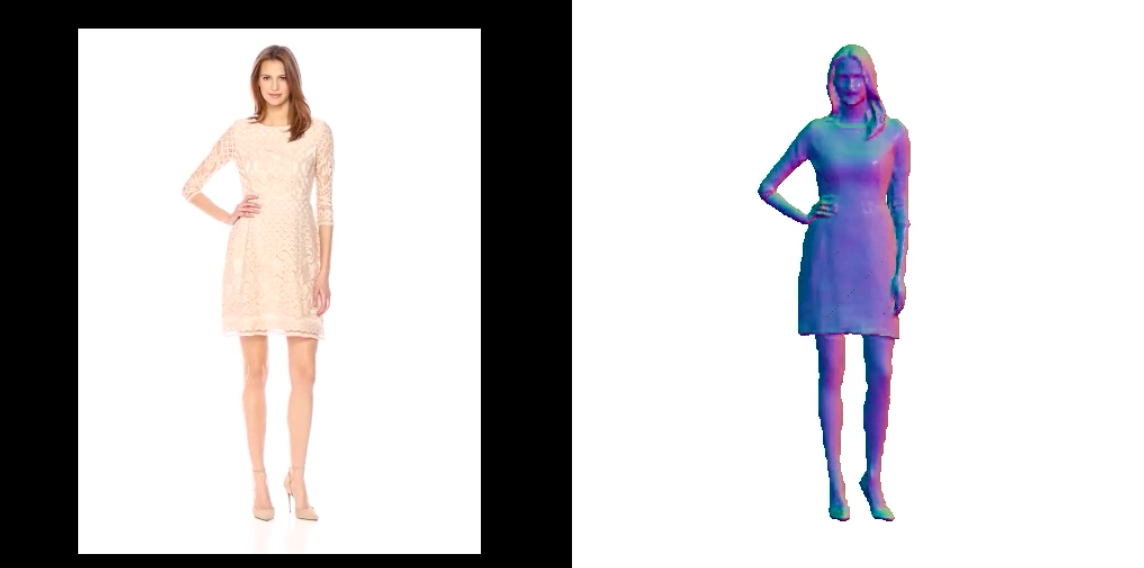
静止画から、人物の前後の画像(result_test_256.png)、objファイル(result_test_256.obj)を作成します。これらは、./results/pifuhd_final/recon に保存されます。ちなみに、objファイルは、MeshLab というアプリを使うと表示・編集が出来ます。
|
1 2 3 |
# レンダリング %cd /content/pifuhd/ !python -m apps.simple_test -r 256 --use_rect -i $image_dir |
pytorch3dを使って、objファイルから視点を回転させた画像を生成し、動画(result_test_256_display.mp4)を作成します。動画は、./results/pifuhd_final に保存されます。
|
1 2 3 4 5 6 7 8 9 |
# mp4の作成 from lib.colab_util import generate_video_from_obj, set_renderer, video renderer = set_renderer() generate_video_from_obj(obj_path, out_img_path, video_path, renderer) # we cannot play a mp4 video generated by cv2 !ffmpeg -i $video_path -vcodec libx264 $video_display_path -y -loglevel quiet video(video_display_path) |
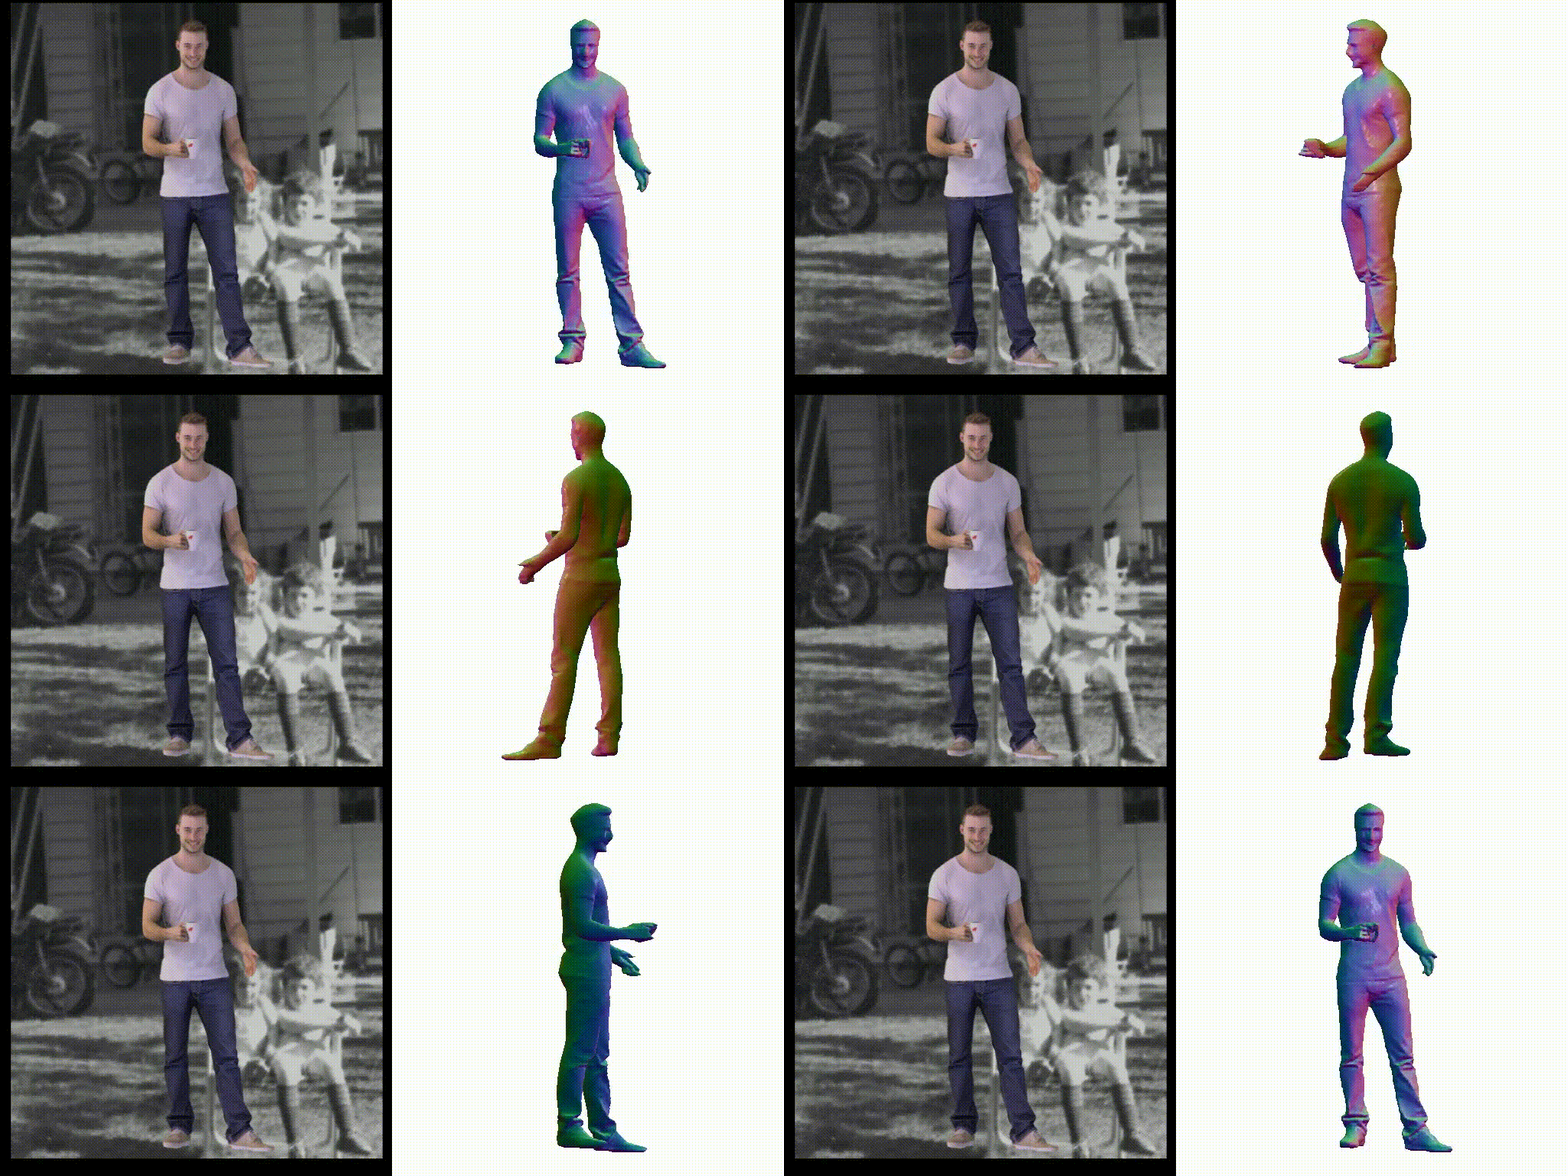
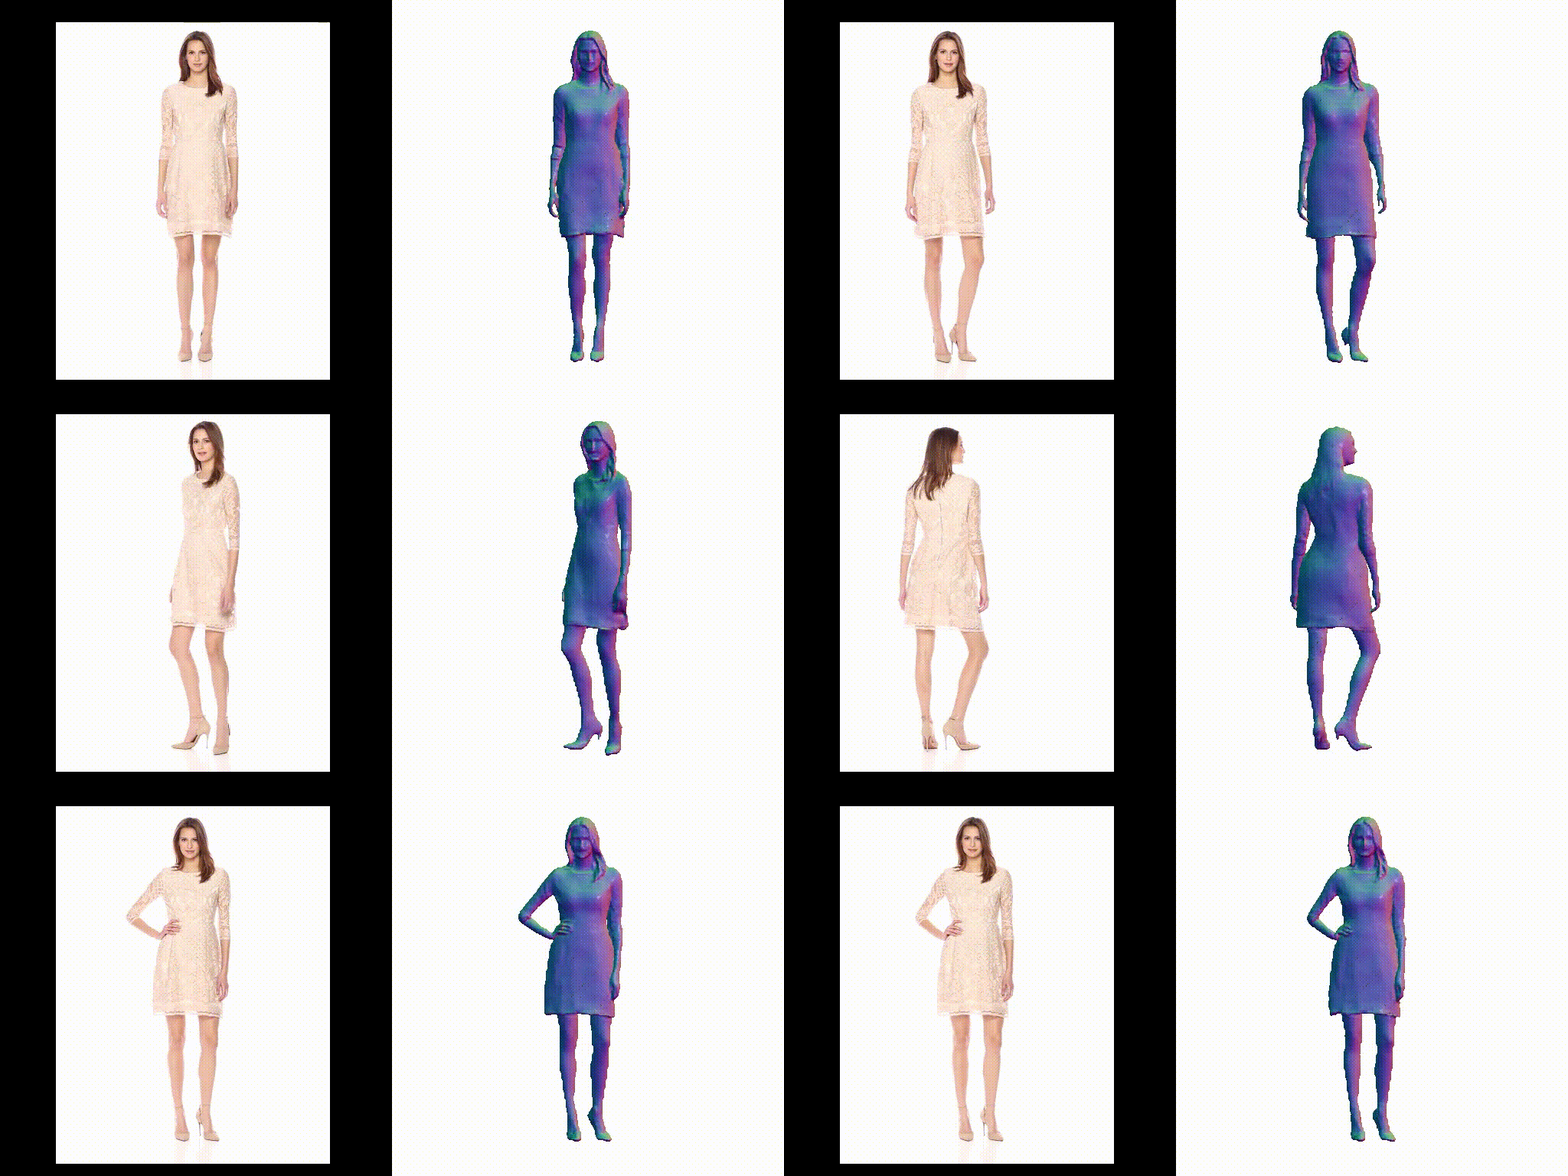
せっかくですので、動画からも3Dモデルを生成してみましょう。先程同様、この「リンク」をクリックし表示されたノートブックの先頭にある「Colab on Web」ボタンをクリックすると動かせます。動画は Fashion Video Dataset を使っています。なお、コードの説明は省略します。
(オリジナルGithub)https://github.com/facebookresearch/pifuhd
(twitterへの投稿)






コメントを残す